Appearance
Testing your application
Vim provides an easy way for you to test your Vim Canvas™️ application during development.
Access your Vim Canvas™️ developer account
As an application developer Console User, you will have access to the Vim Console, the platform to set up your Vim account, create and manage applications and much more. Vim will send the Canvas™️ developer account access email to the relevant main point of contact. The point of contact main user first needs to login to the Vim Console to invite team members, create and manage applications and see the list of organizations and Vim Connect users that will be using your application.
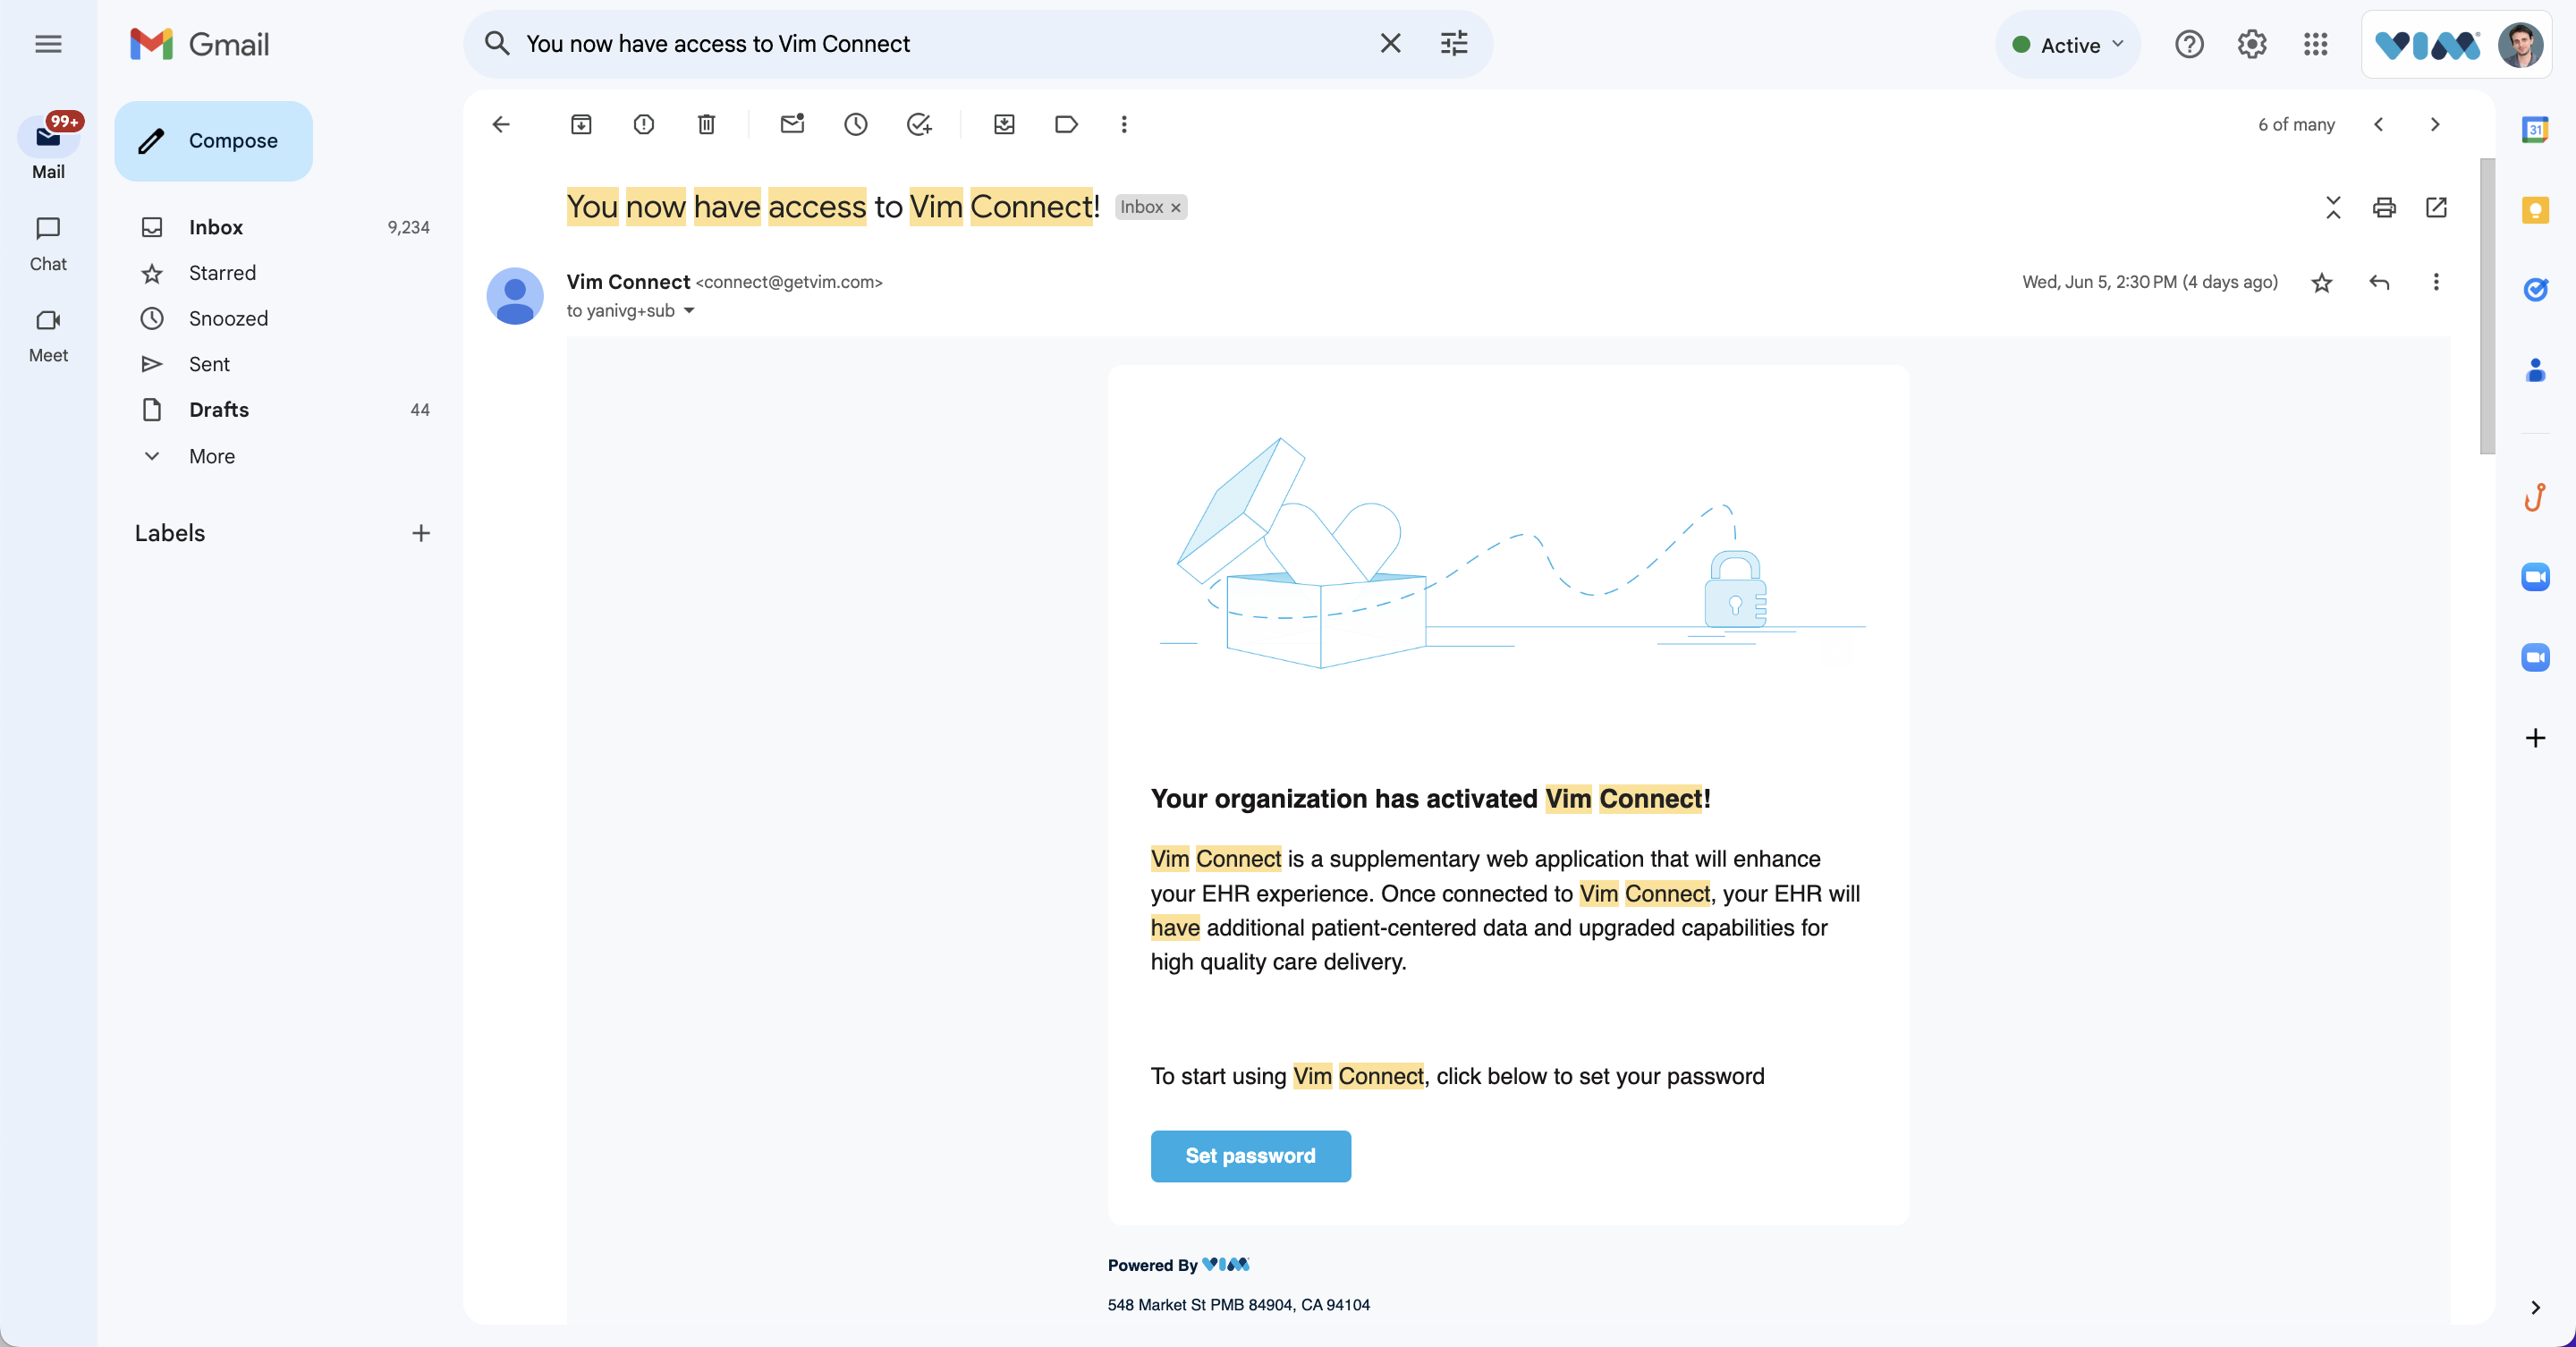
Look out for an email with the subject line: "You now have access to Vim Connect!"
Click on Set password.
Set your password.
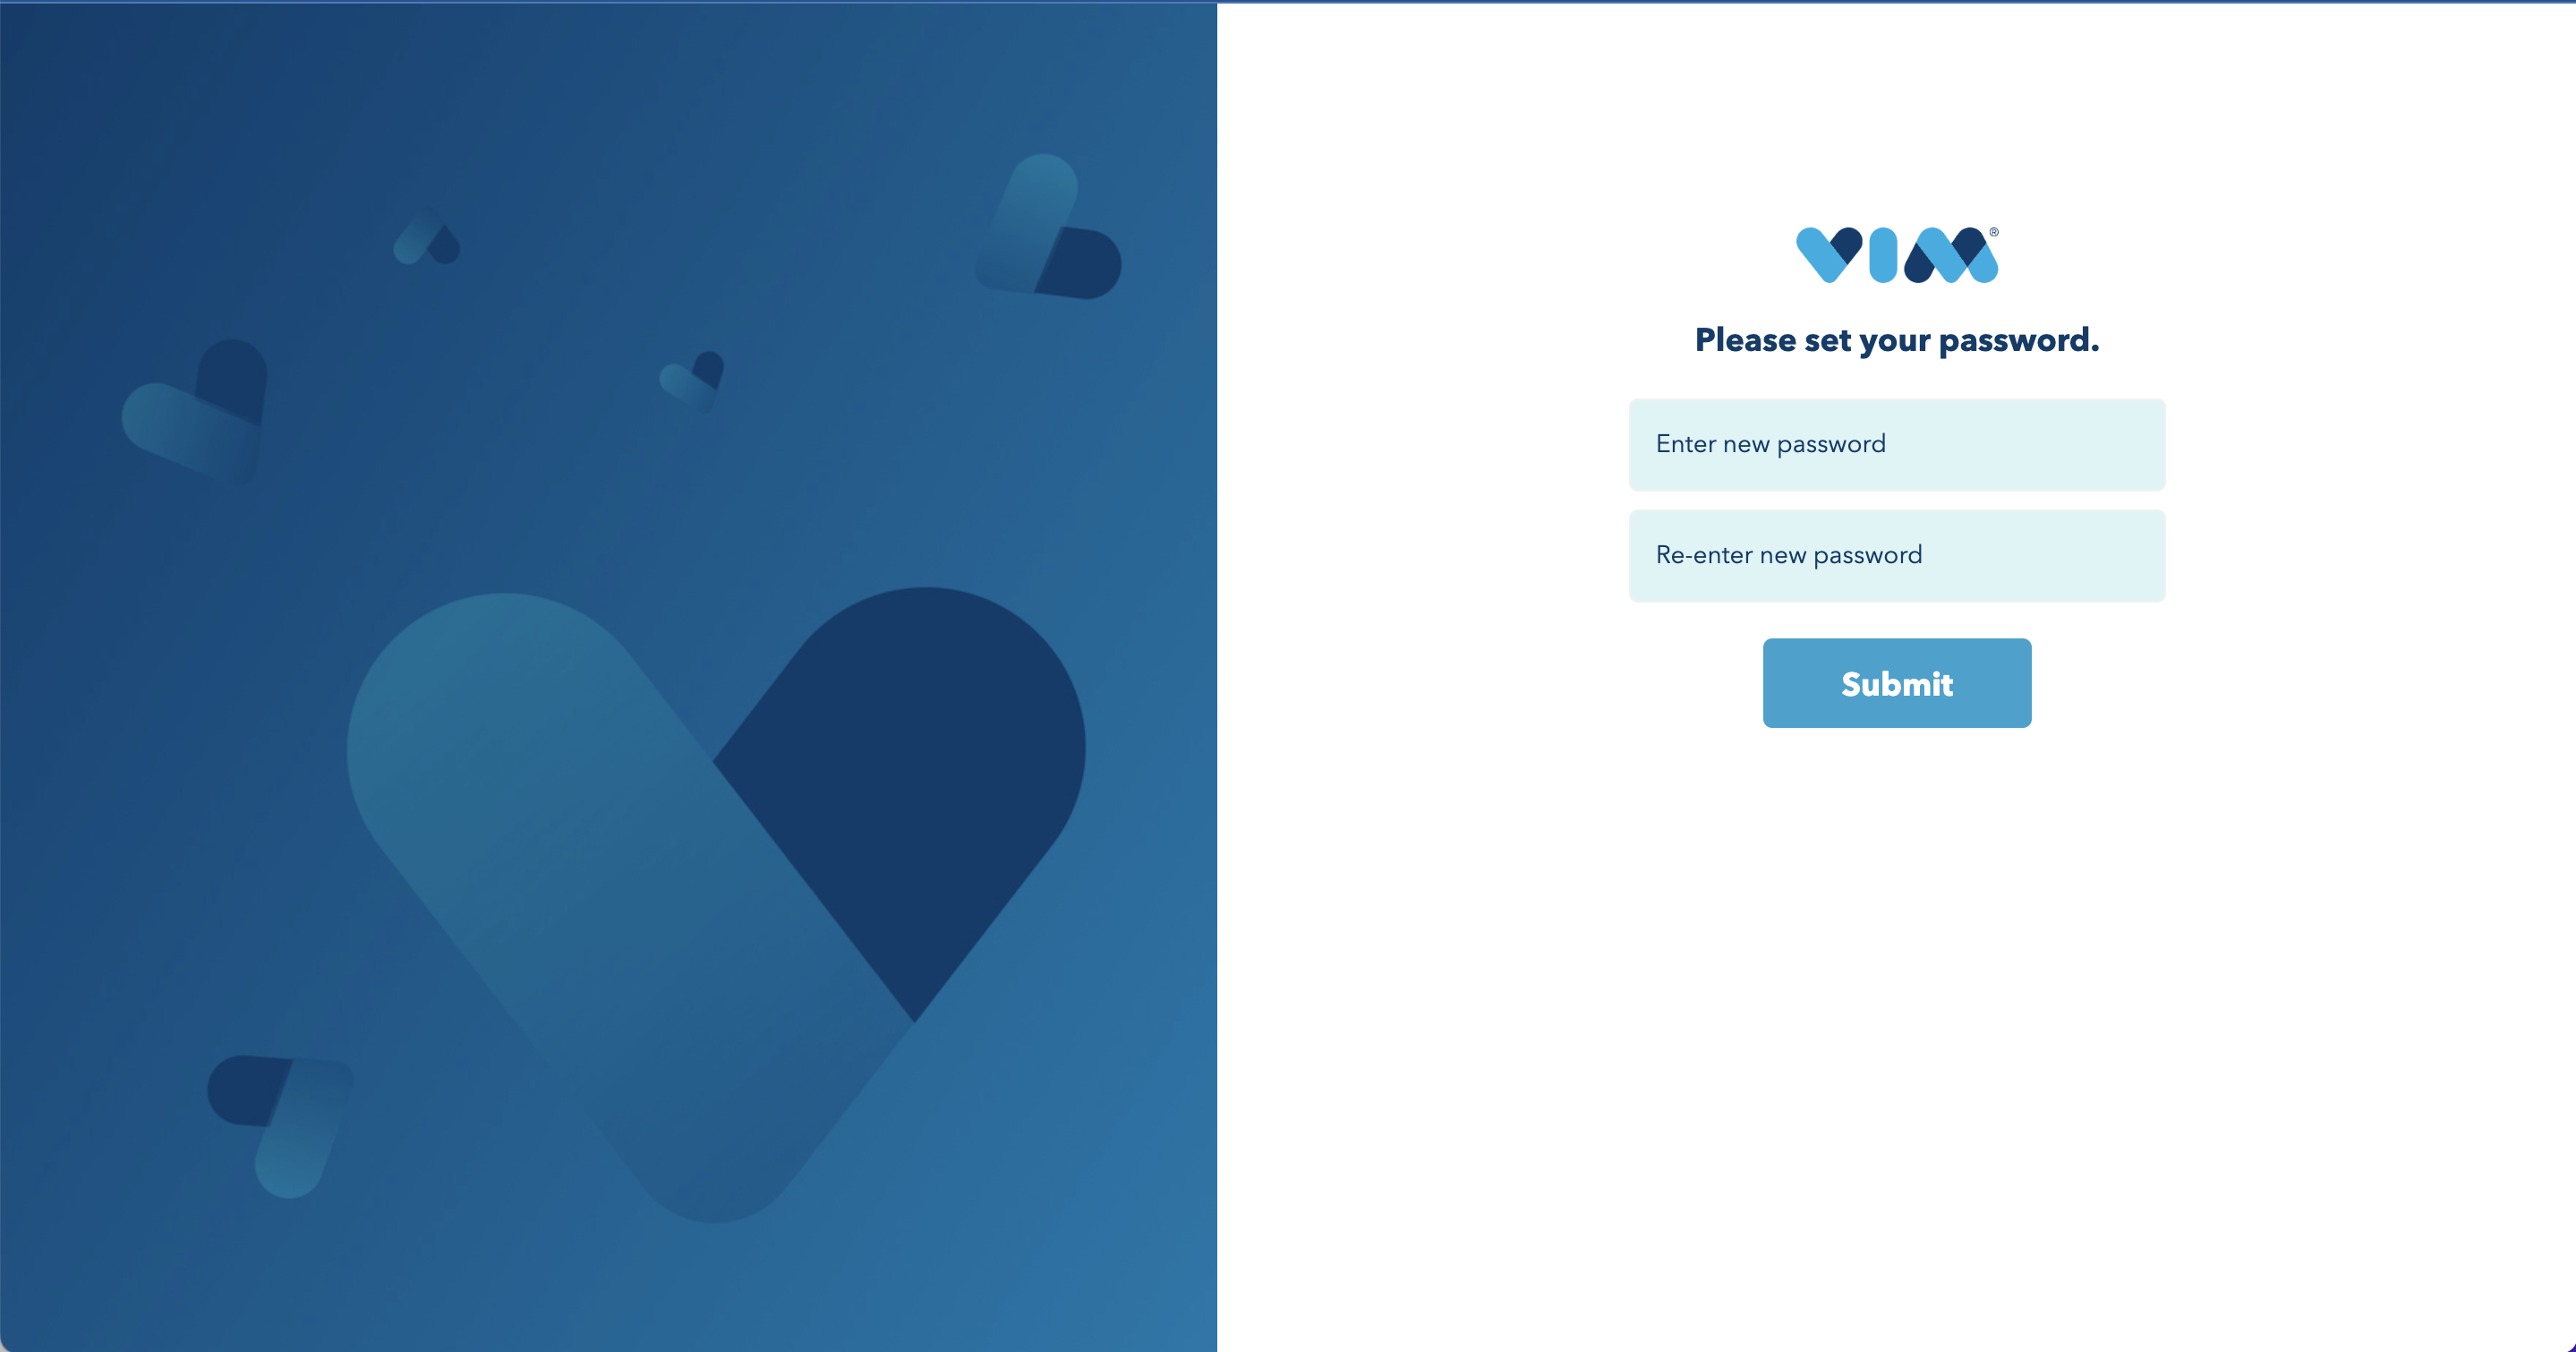
Click on Submit.
You are now logged in your Vim Canvas™️ developer account.
Invite team members
As an application developer Console User, you are able to manage your team members, applications and see the list of organizations and Vim Connect users that have your application installed.
First log in to the Vim Canvas™️ developer console using your email and password and then complete the two factor authentication by entering the code sent to your email.
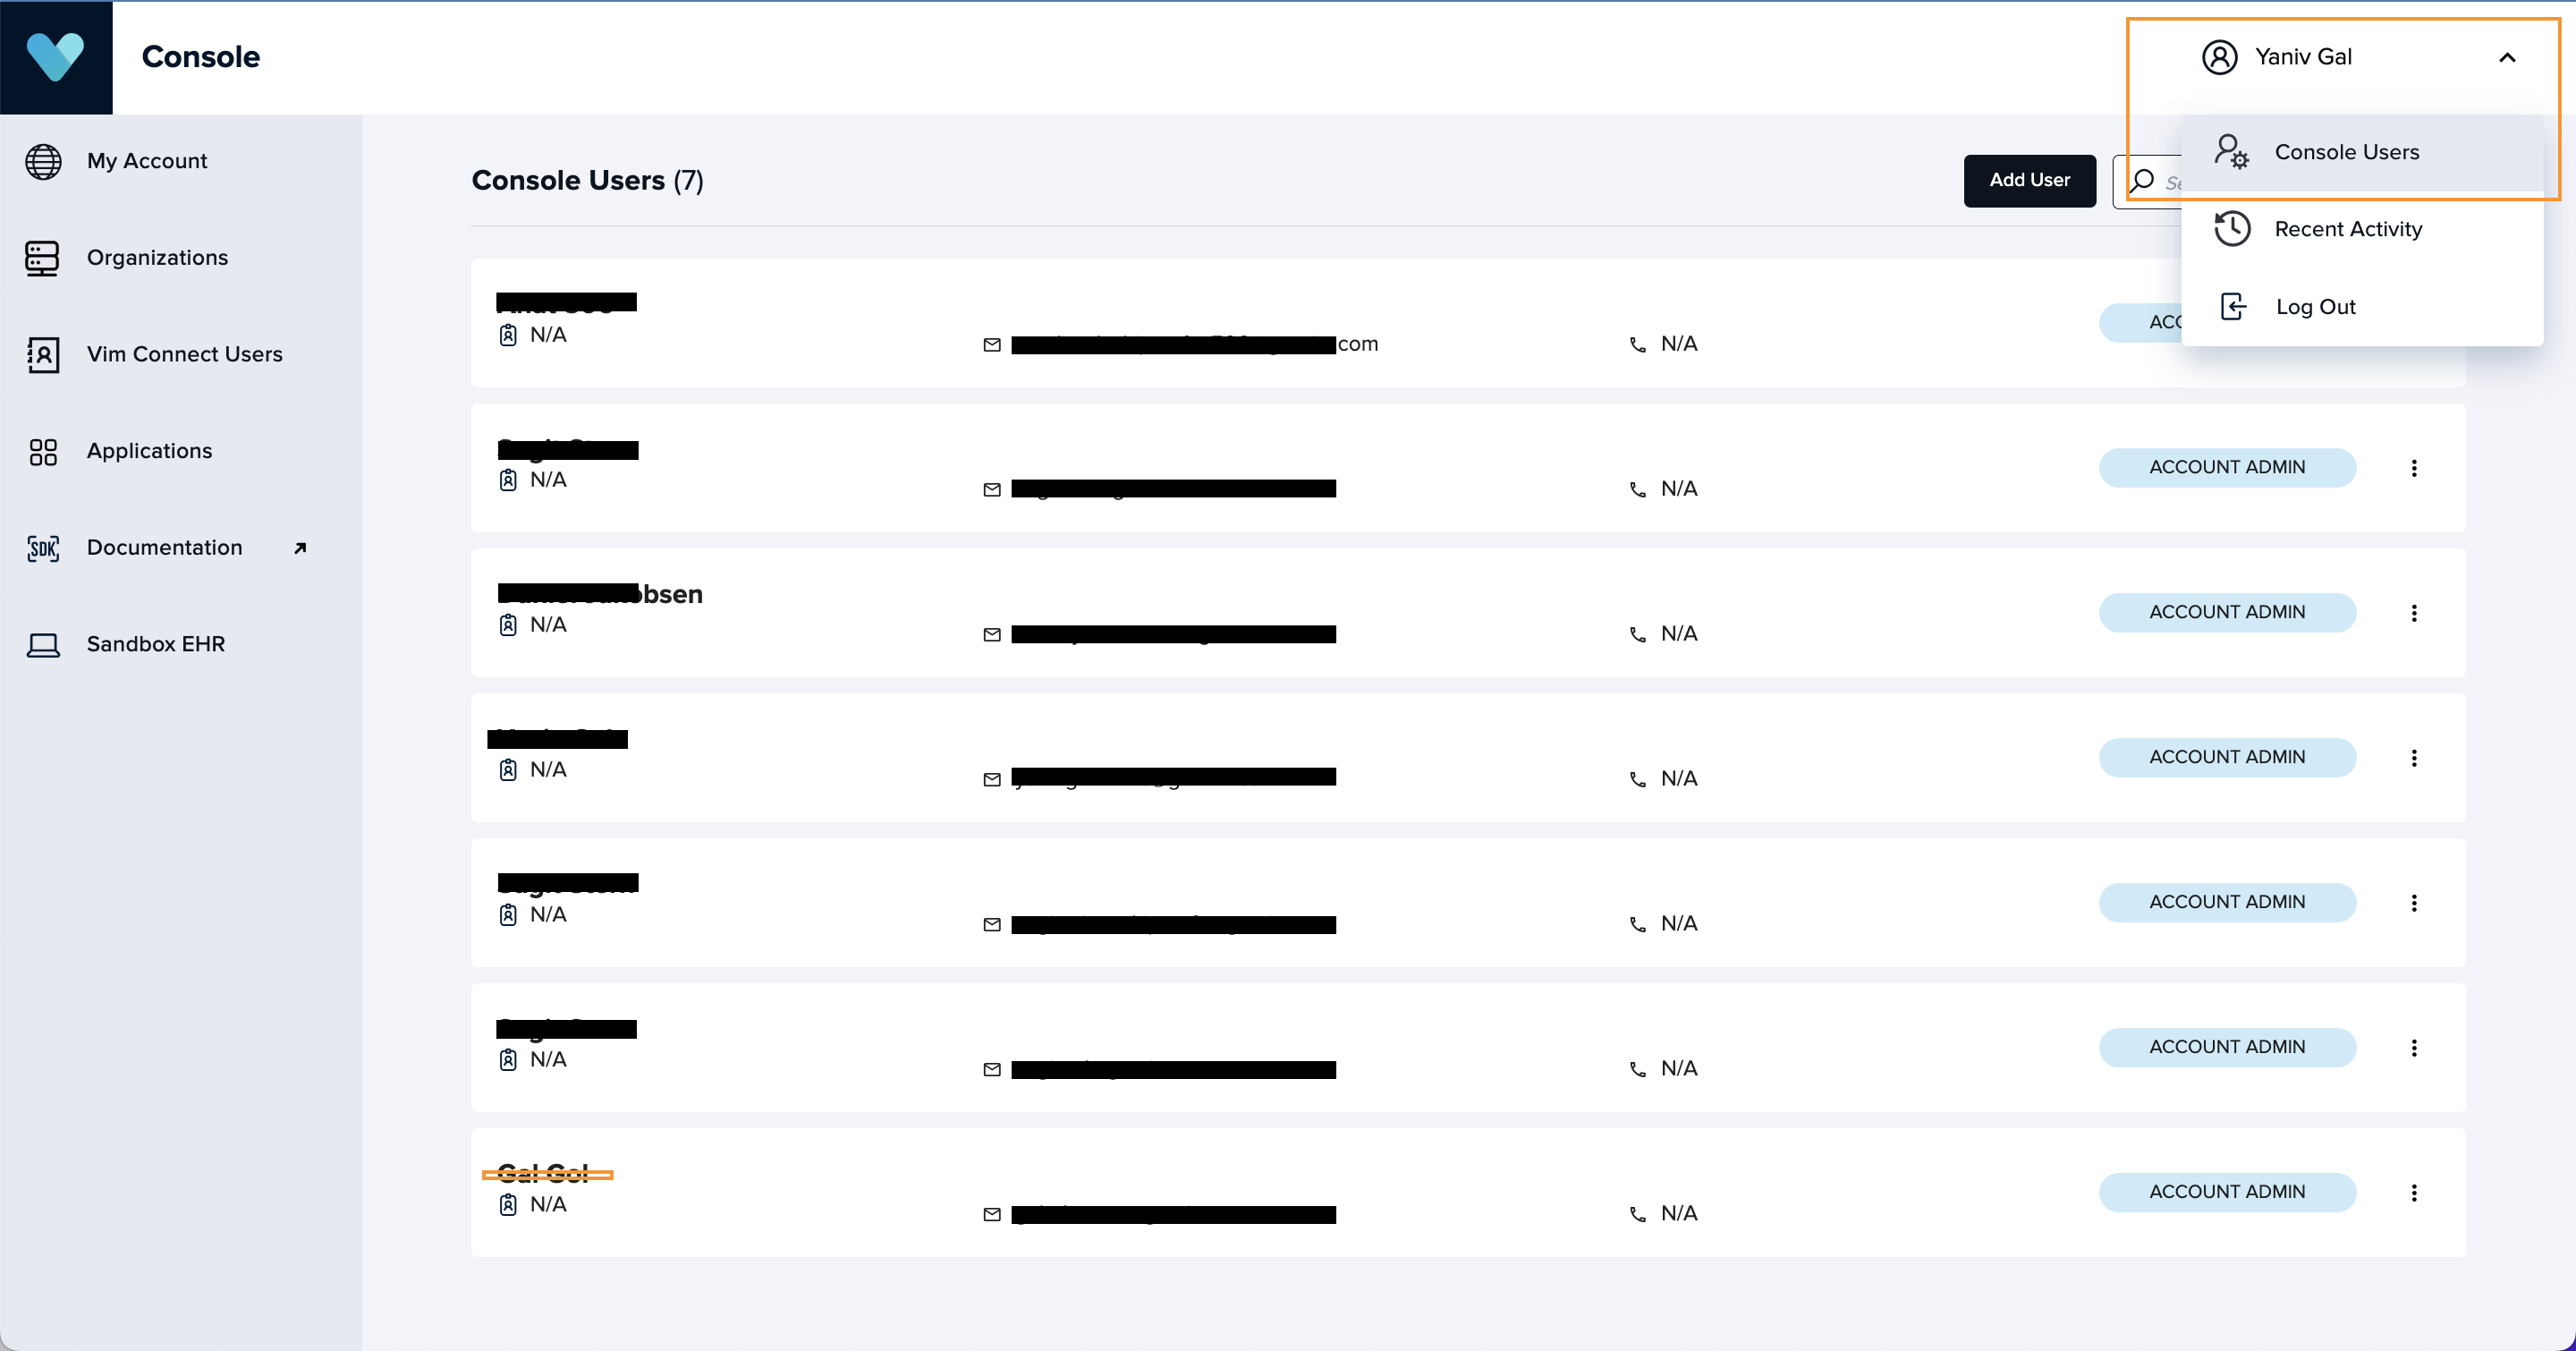
Click on the top right profile section and click on Console Users.
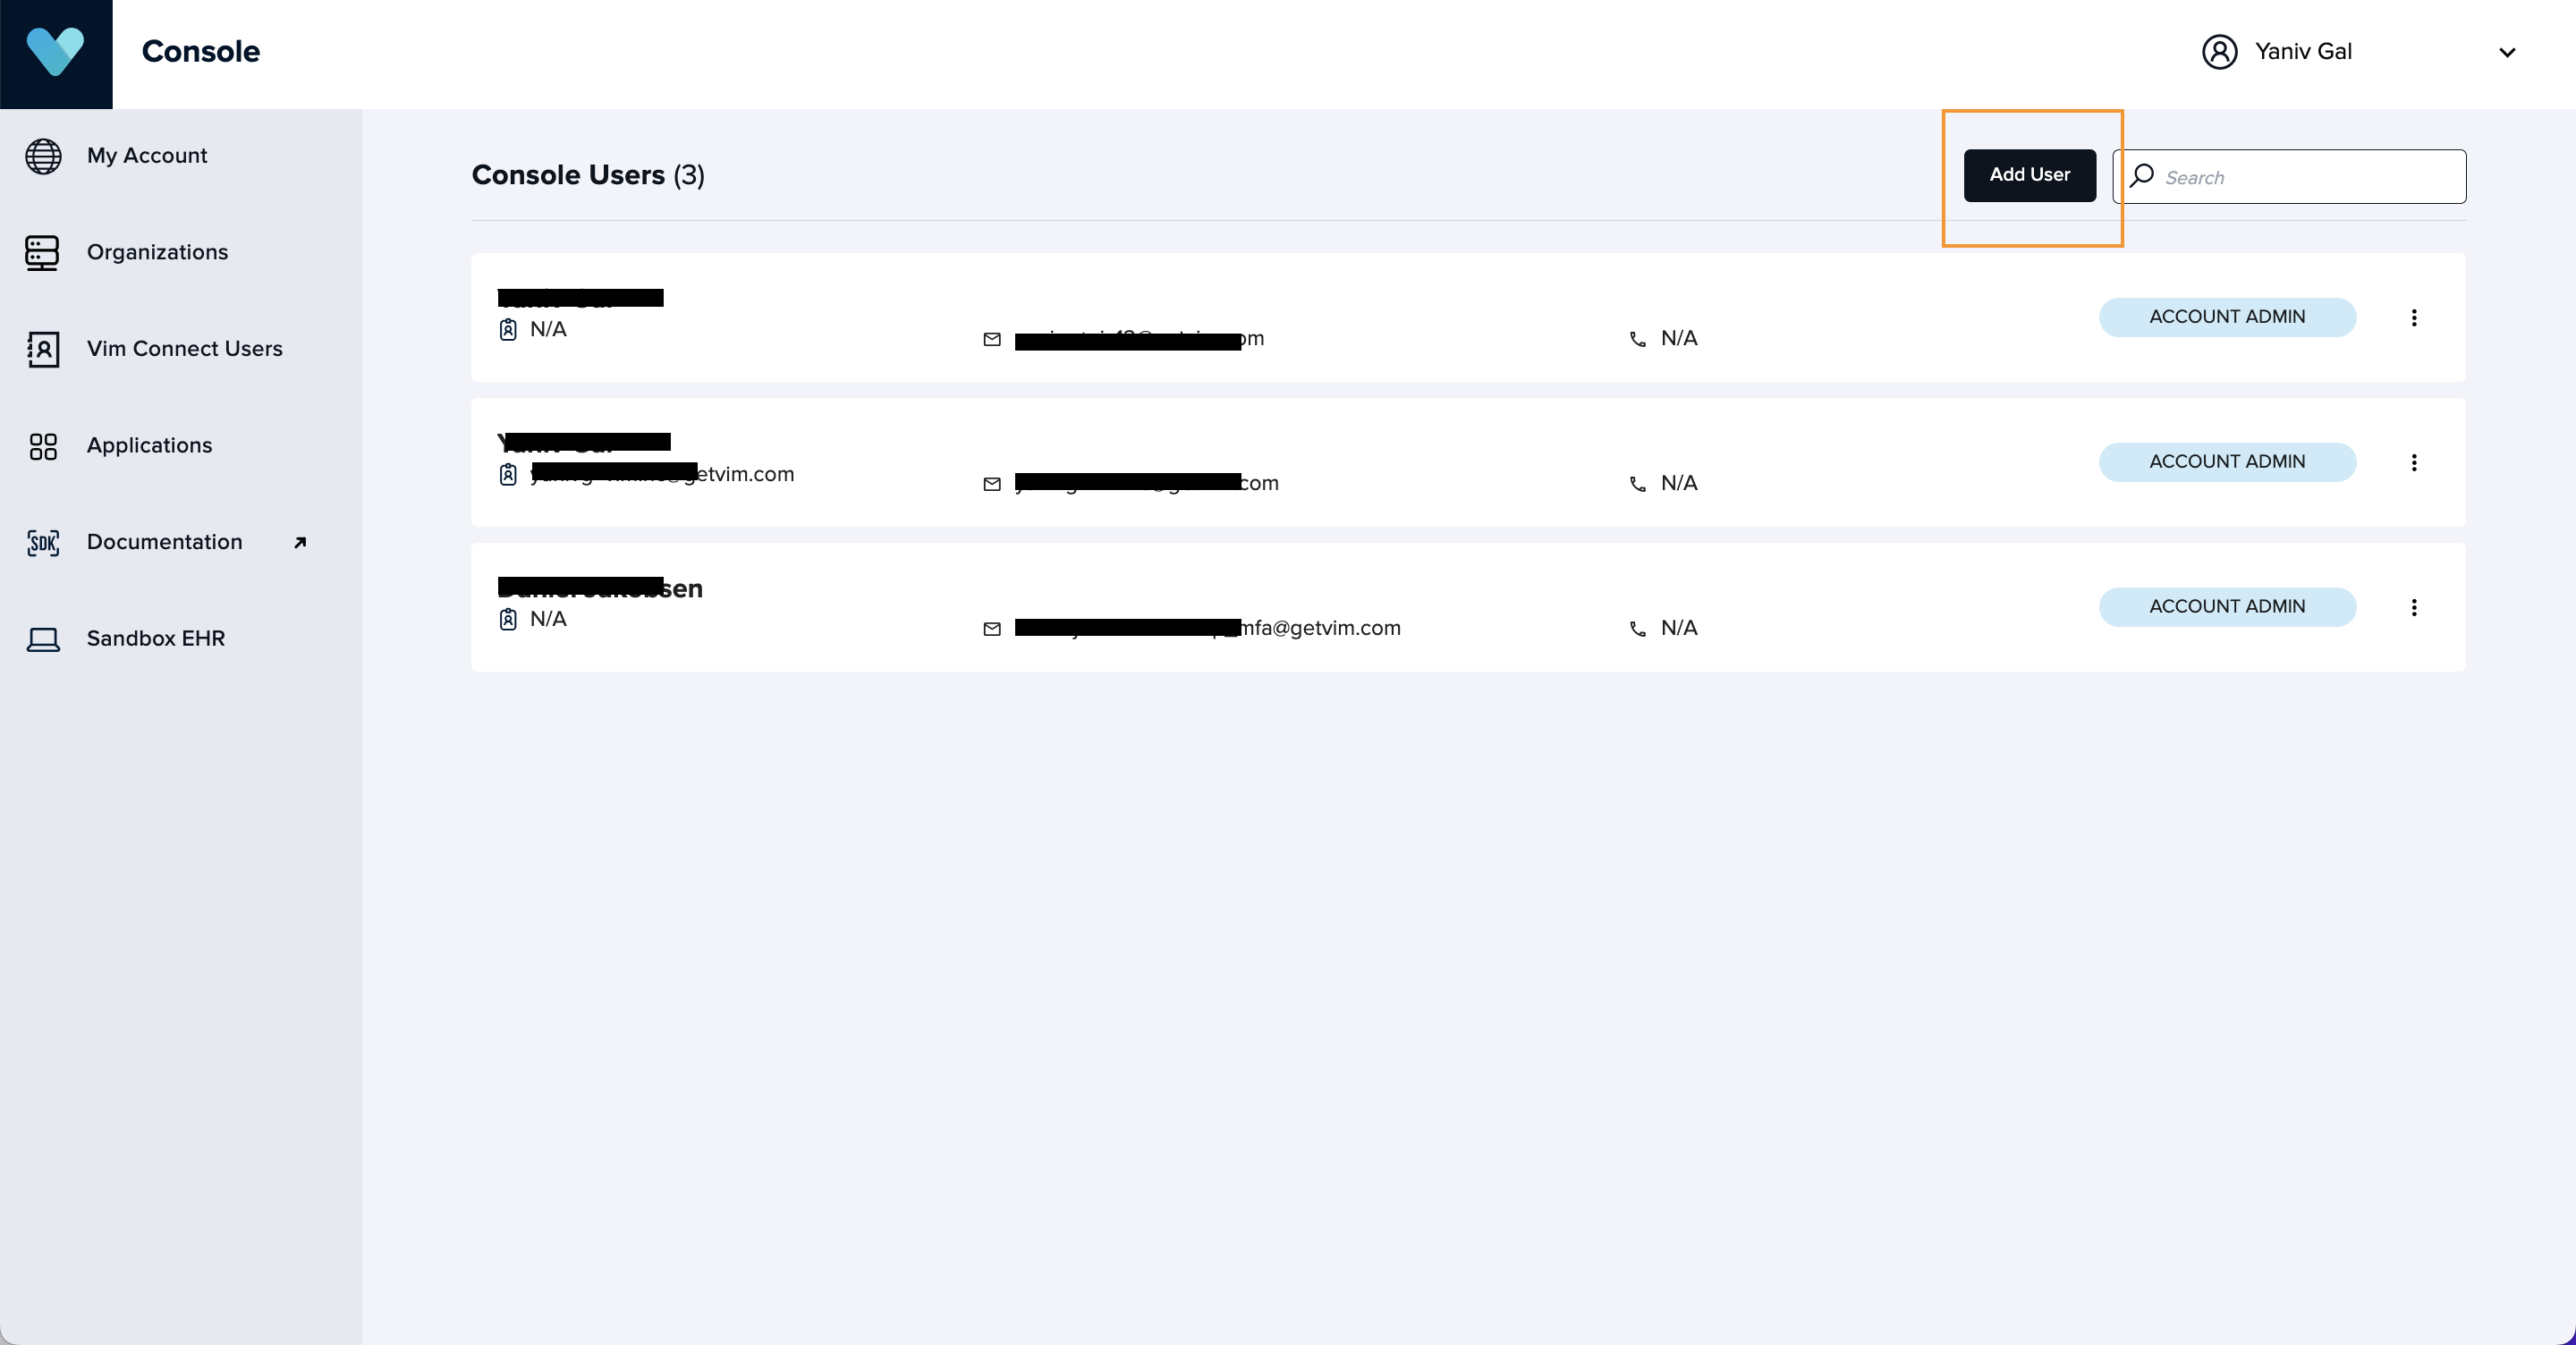
Click on Add User.
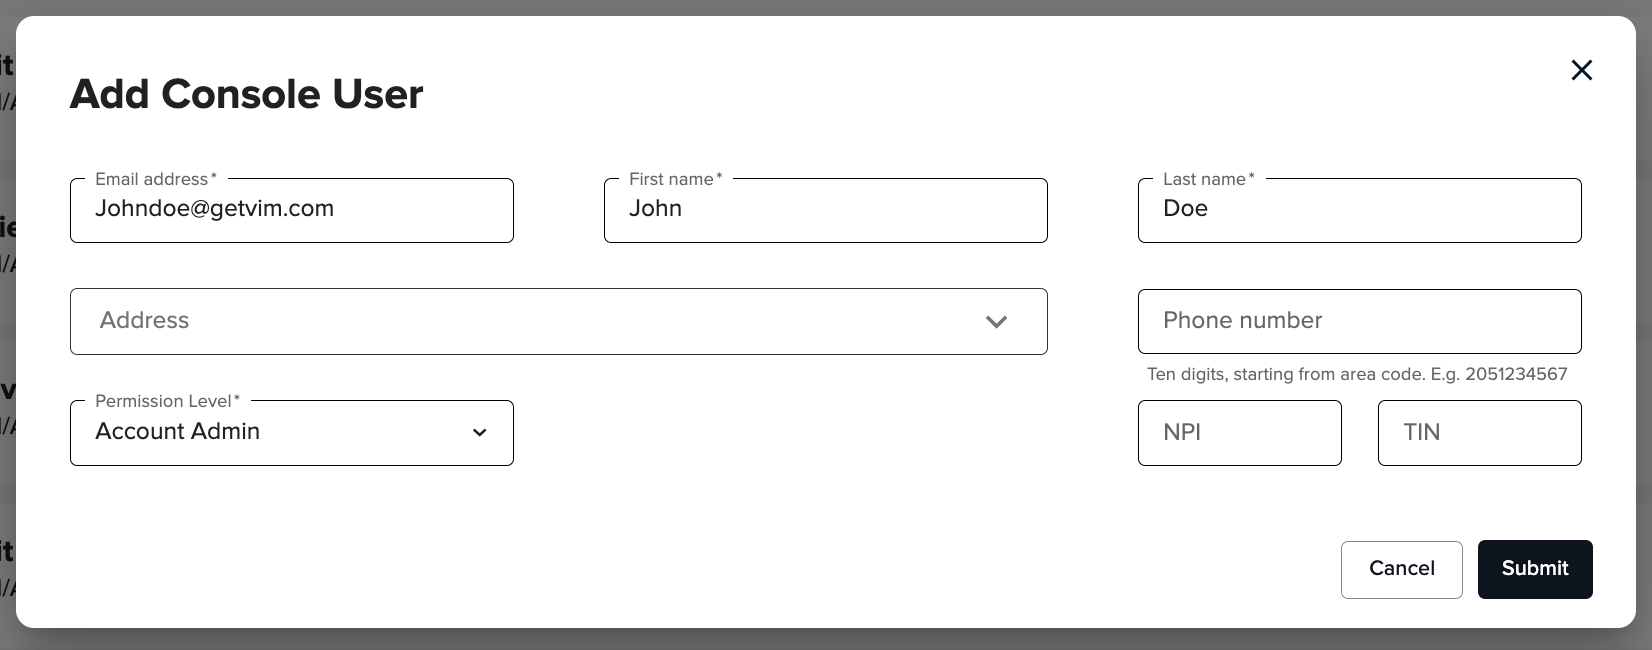
Fill in the relevant details (the only relevant mandatory fields are email, first name, last name and permission level where you can choose Account admin).
Click on Submit.
Create your Vim Canvas™️ application
As an application developer Console User, you need to create your Vim Canvas™️ application from the Applications tab in order to test it. This is the place where you will be able to create more applications, manage them and set their store listing and permissions on the application manifest page.
From the left menu, click on Applications.
Click on Create new application.
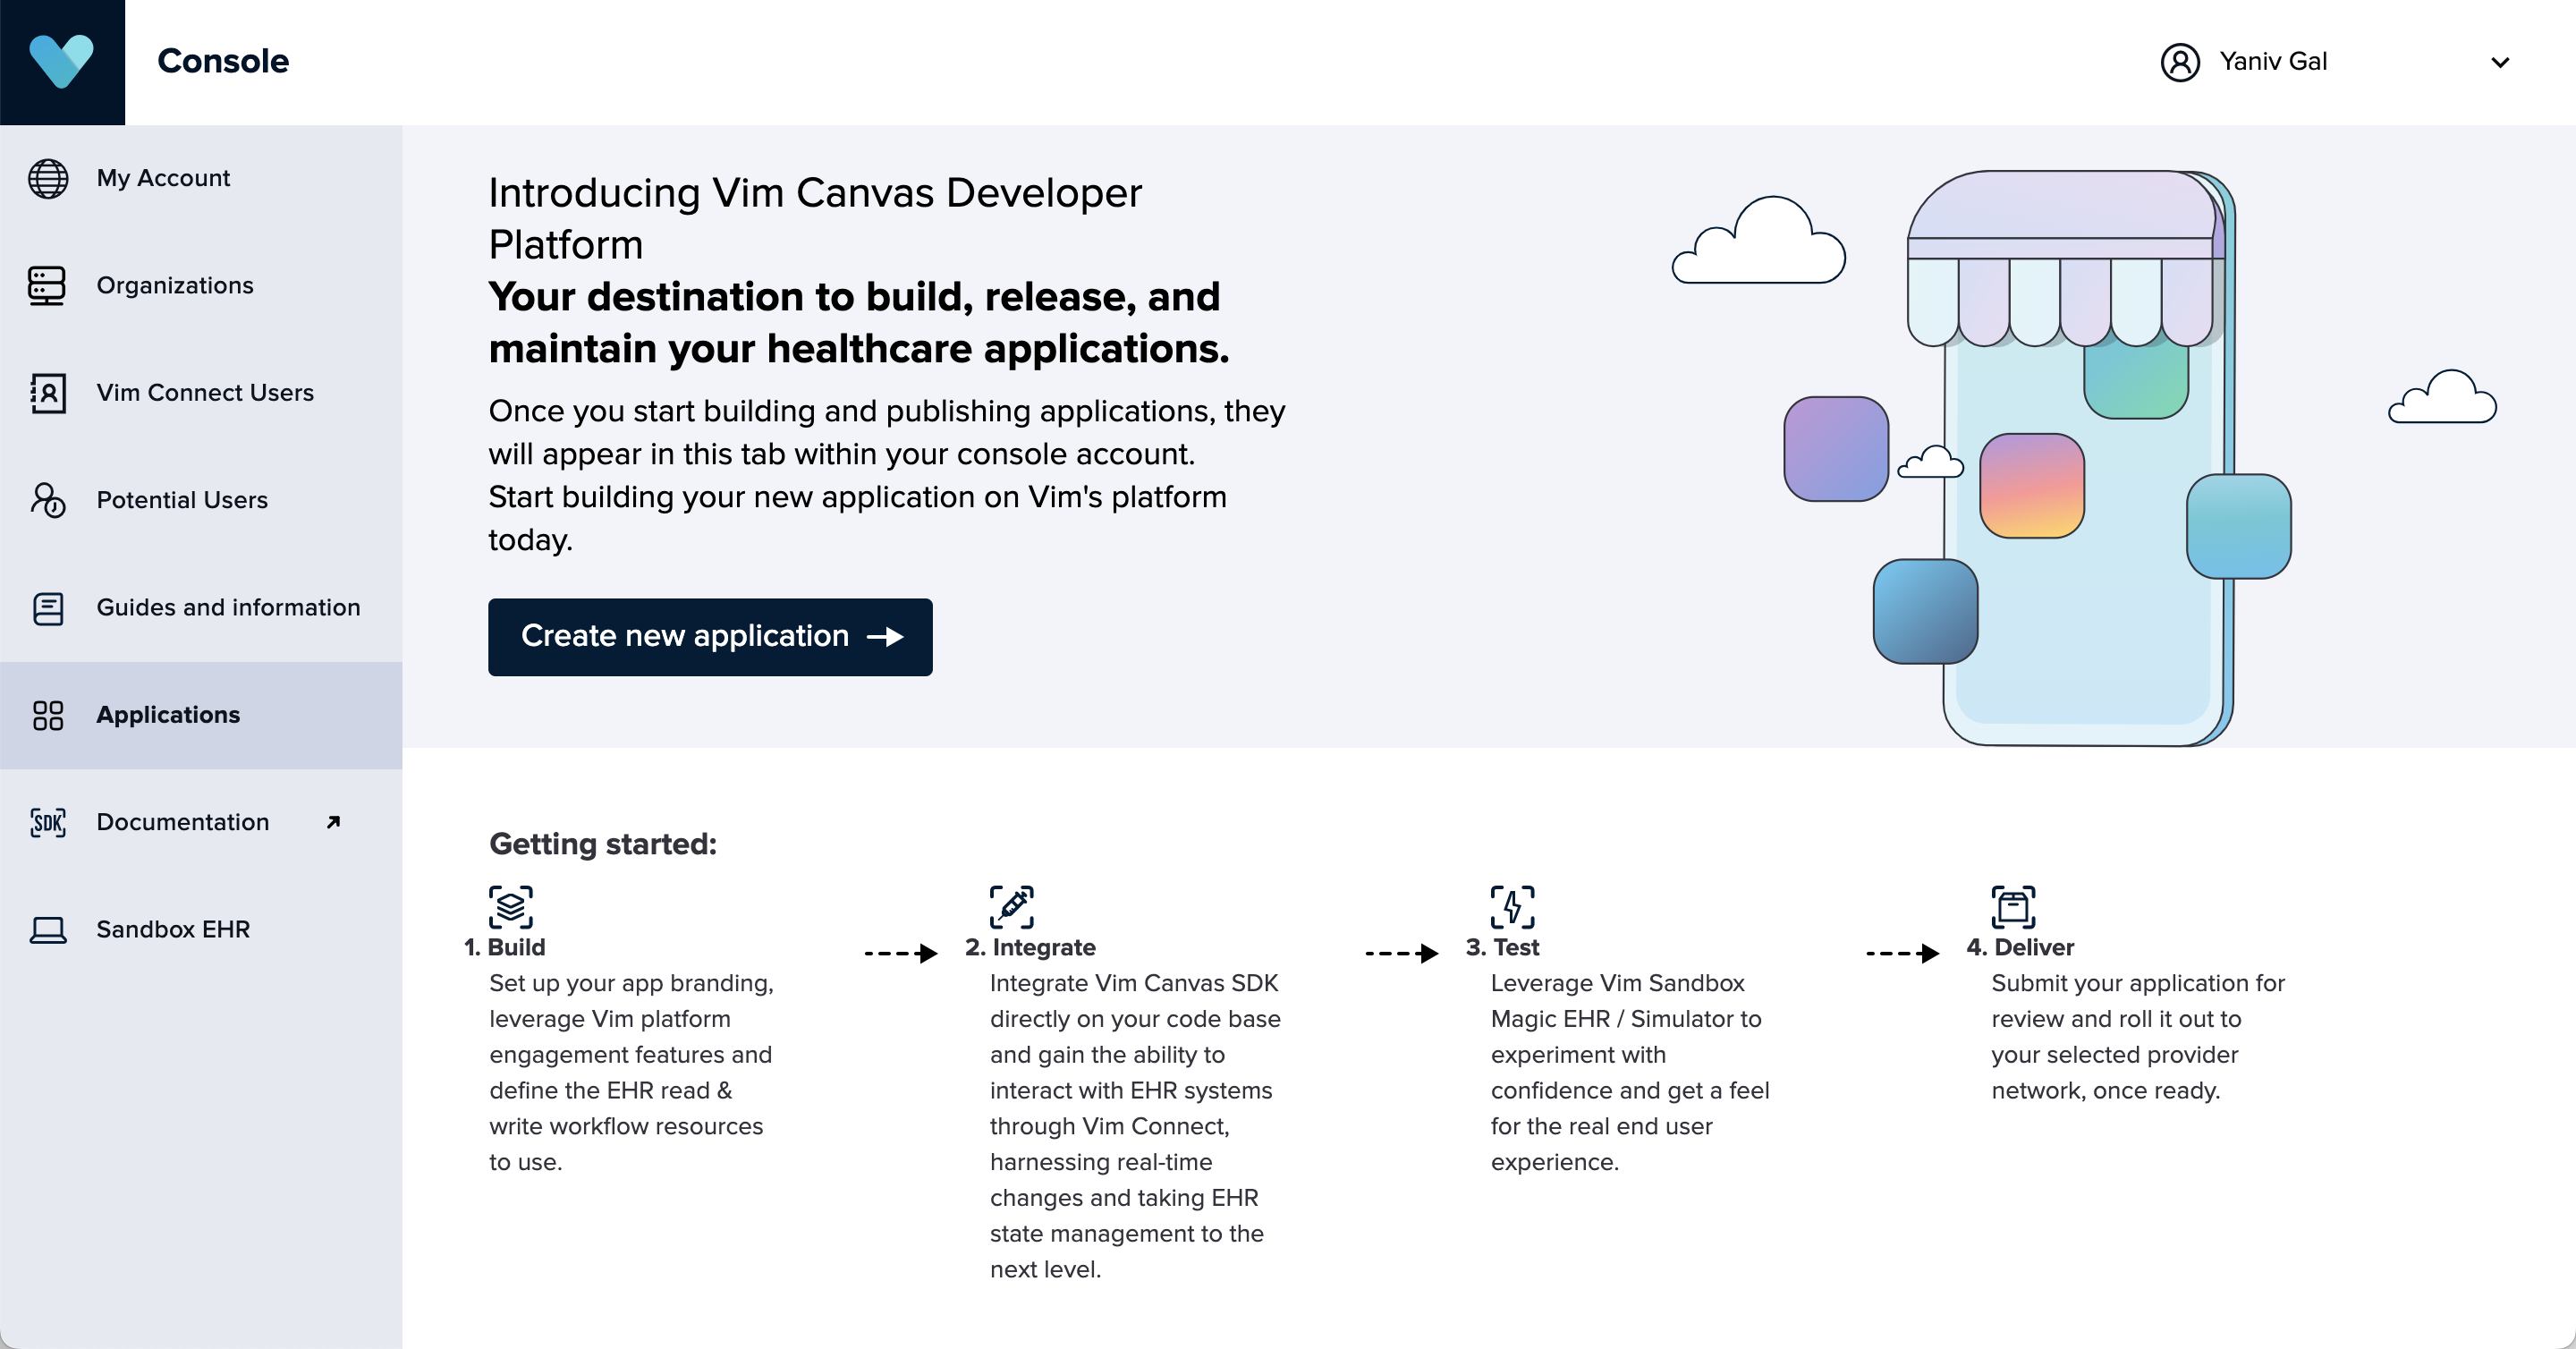
You will access the application manifest page.
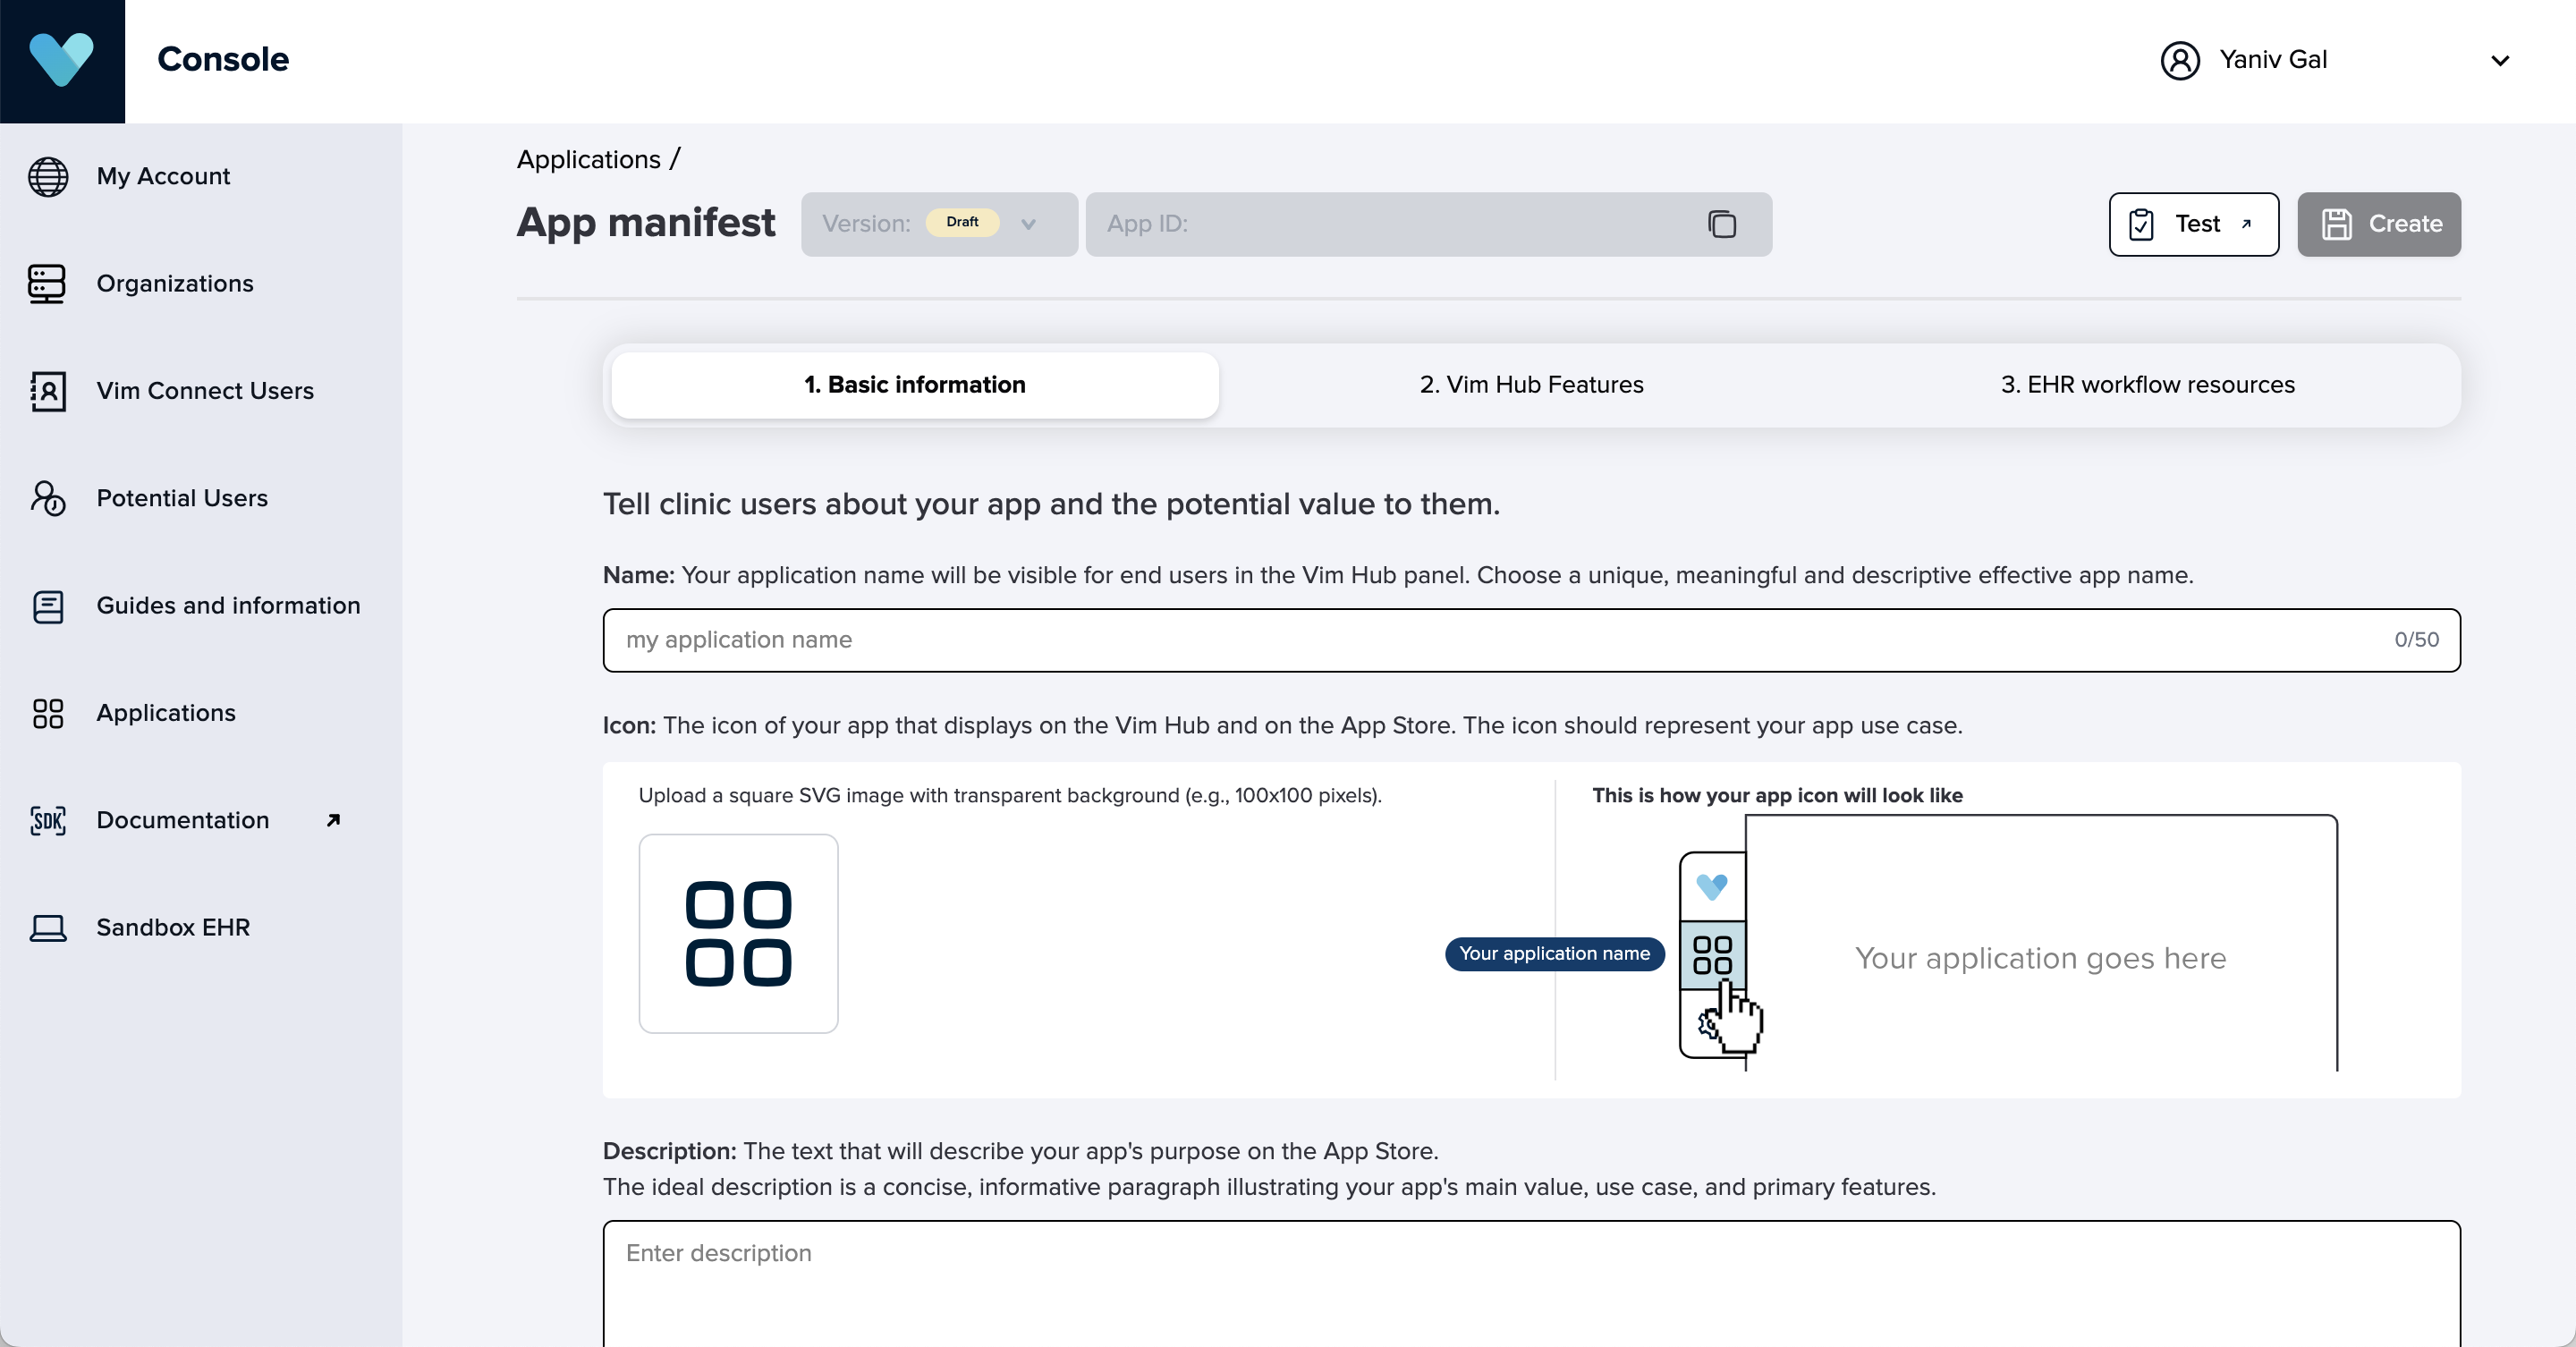
Set your application manifest
As an application developer Console User, you need to create your Vim Canvas™️ application from the Applications tab in order to test it. This is the place where you will be able to create more applications, manage them and set their store listing and permissions on the application manifest page. The application manifest has 3 main sections: basic information, Vim Hub features and EHR workflow resources.
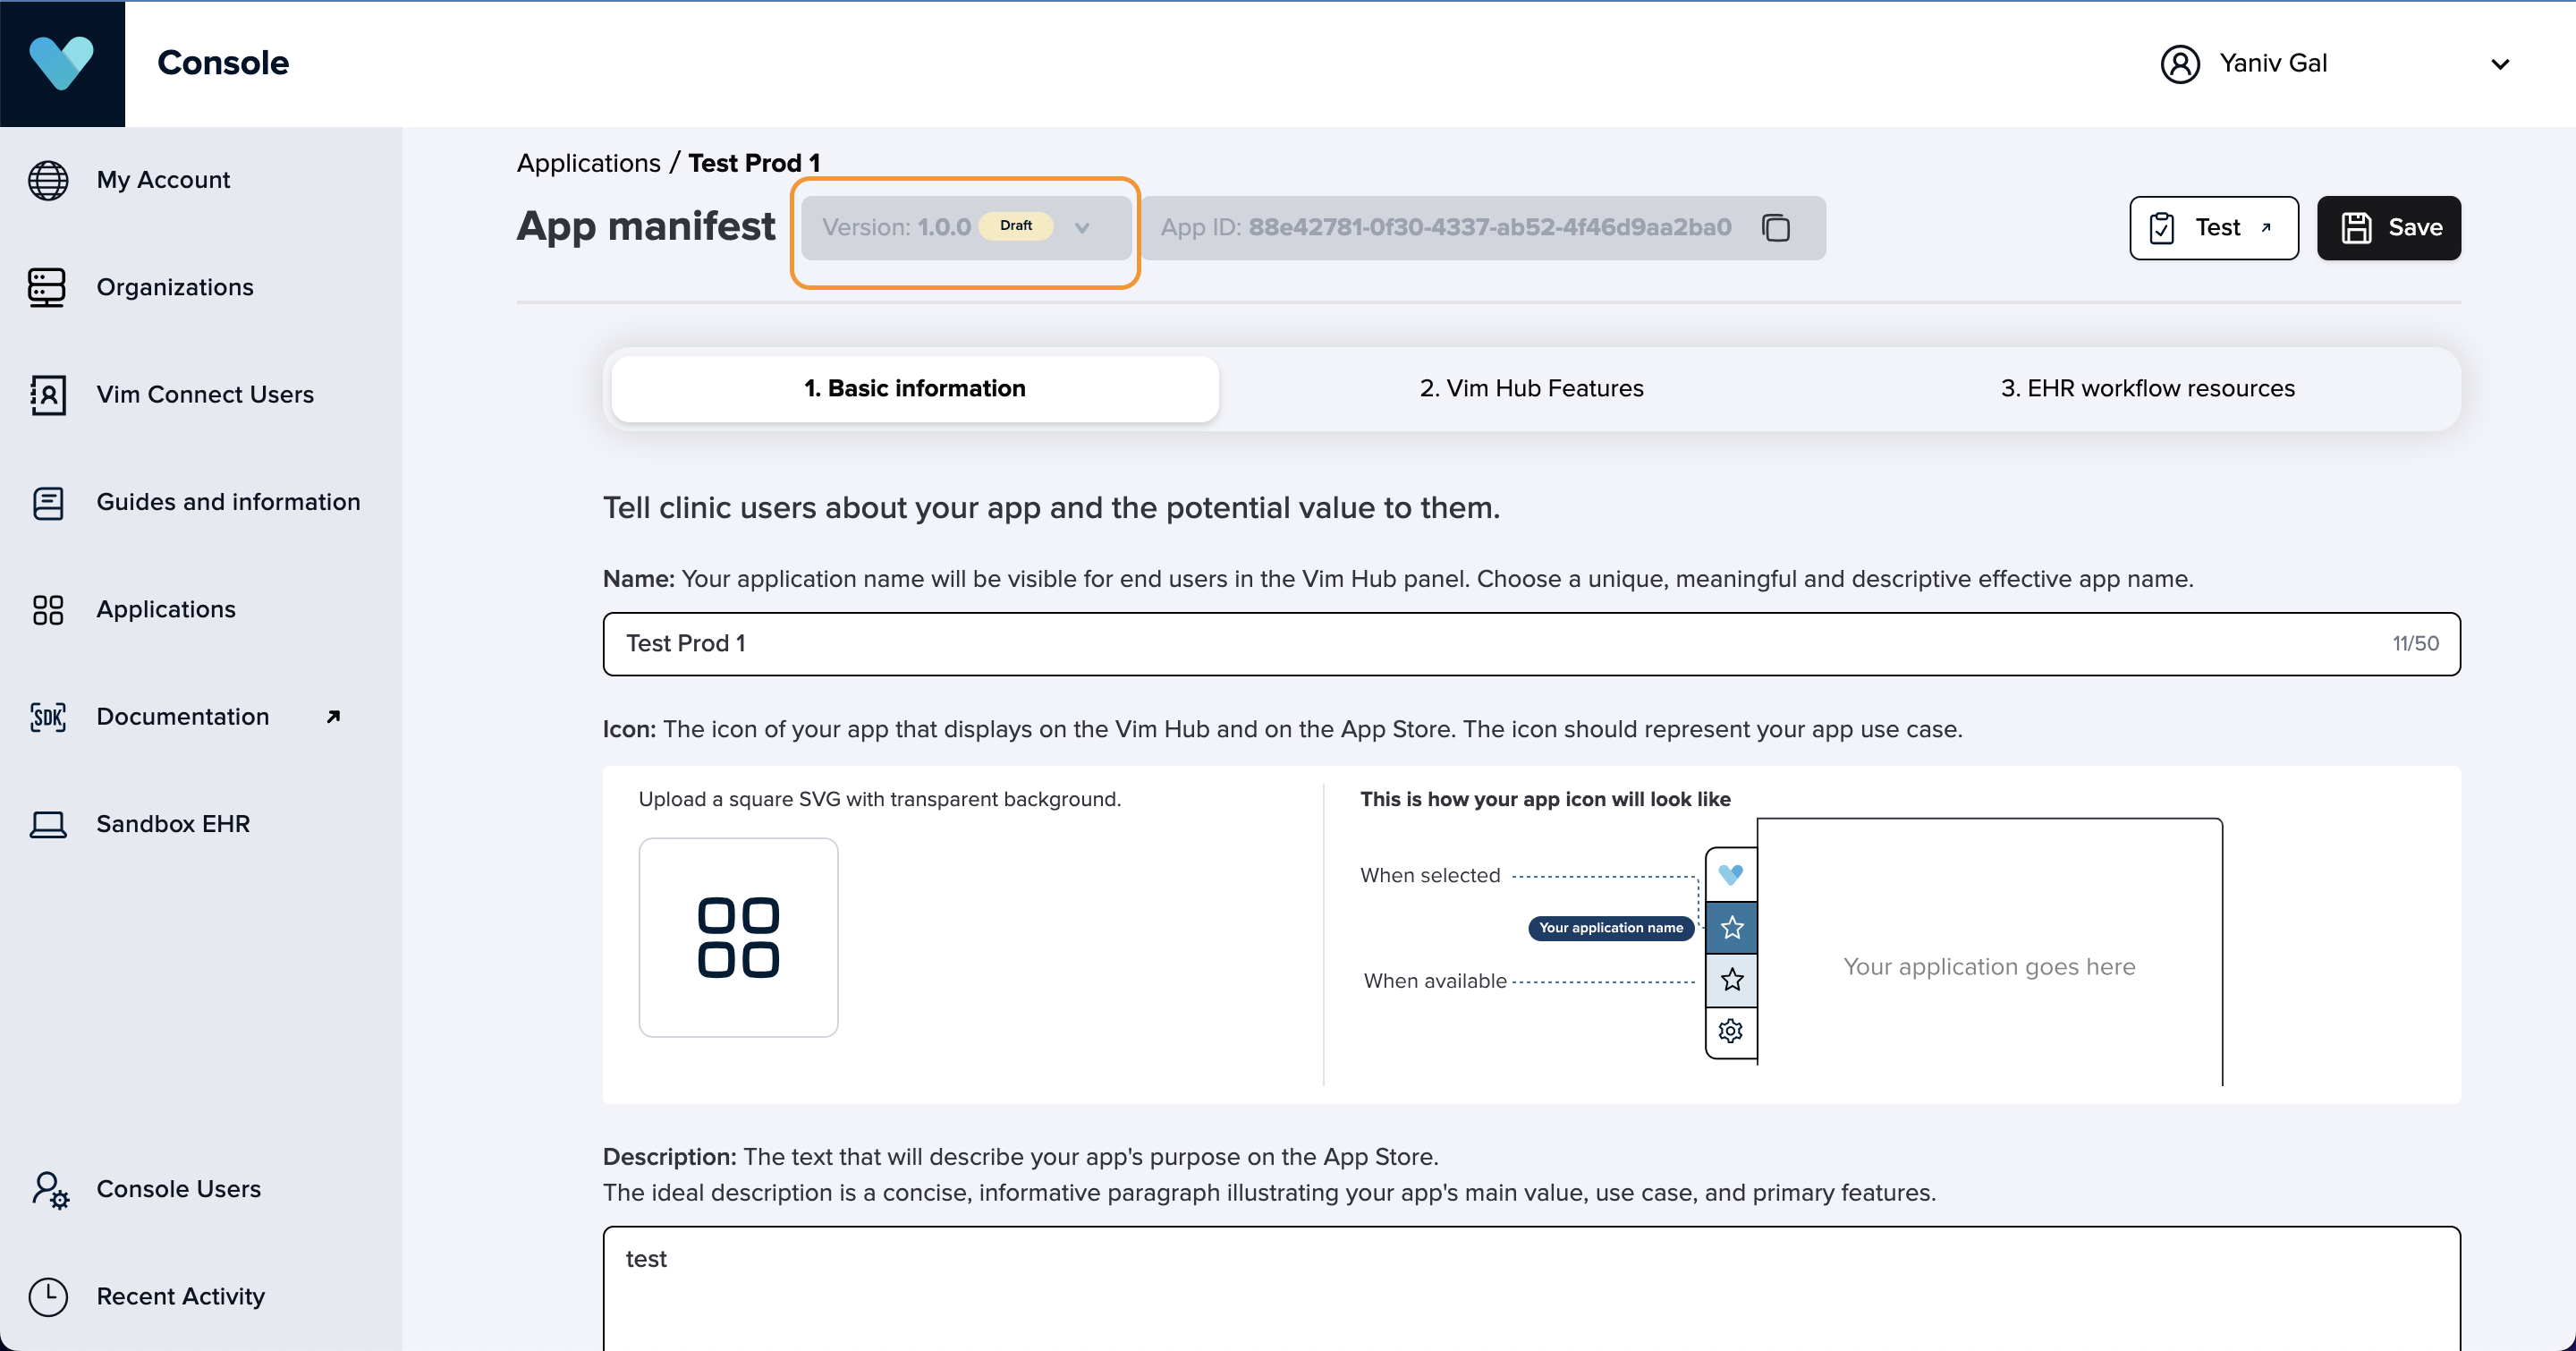
From the Basic information tab, you can set up the below settings:
- Name
- Icon: Upload an SVG file with a square dimensions (100 x 100 pixels for example). Make sure to keep the SVG without any color for the background. The SVG image needs to have a transparent background and no colored background.
- Description
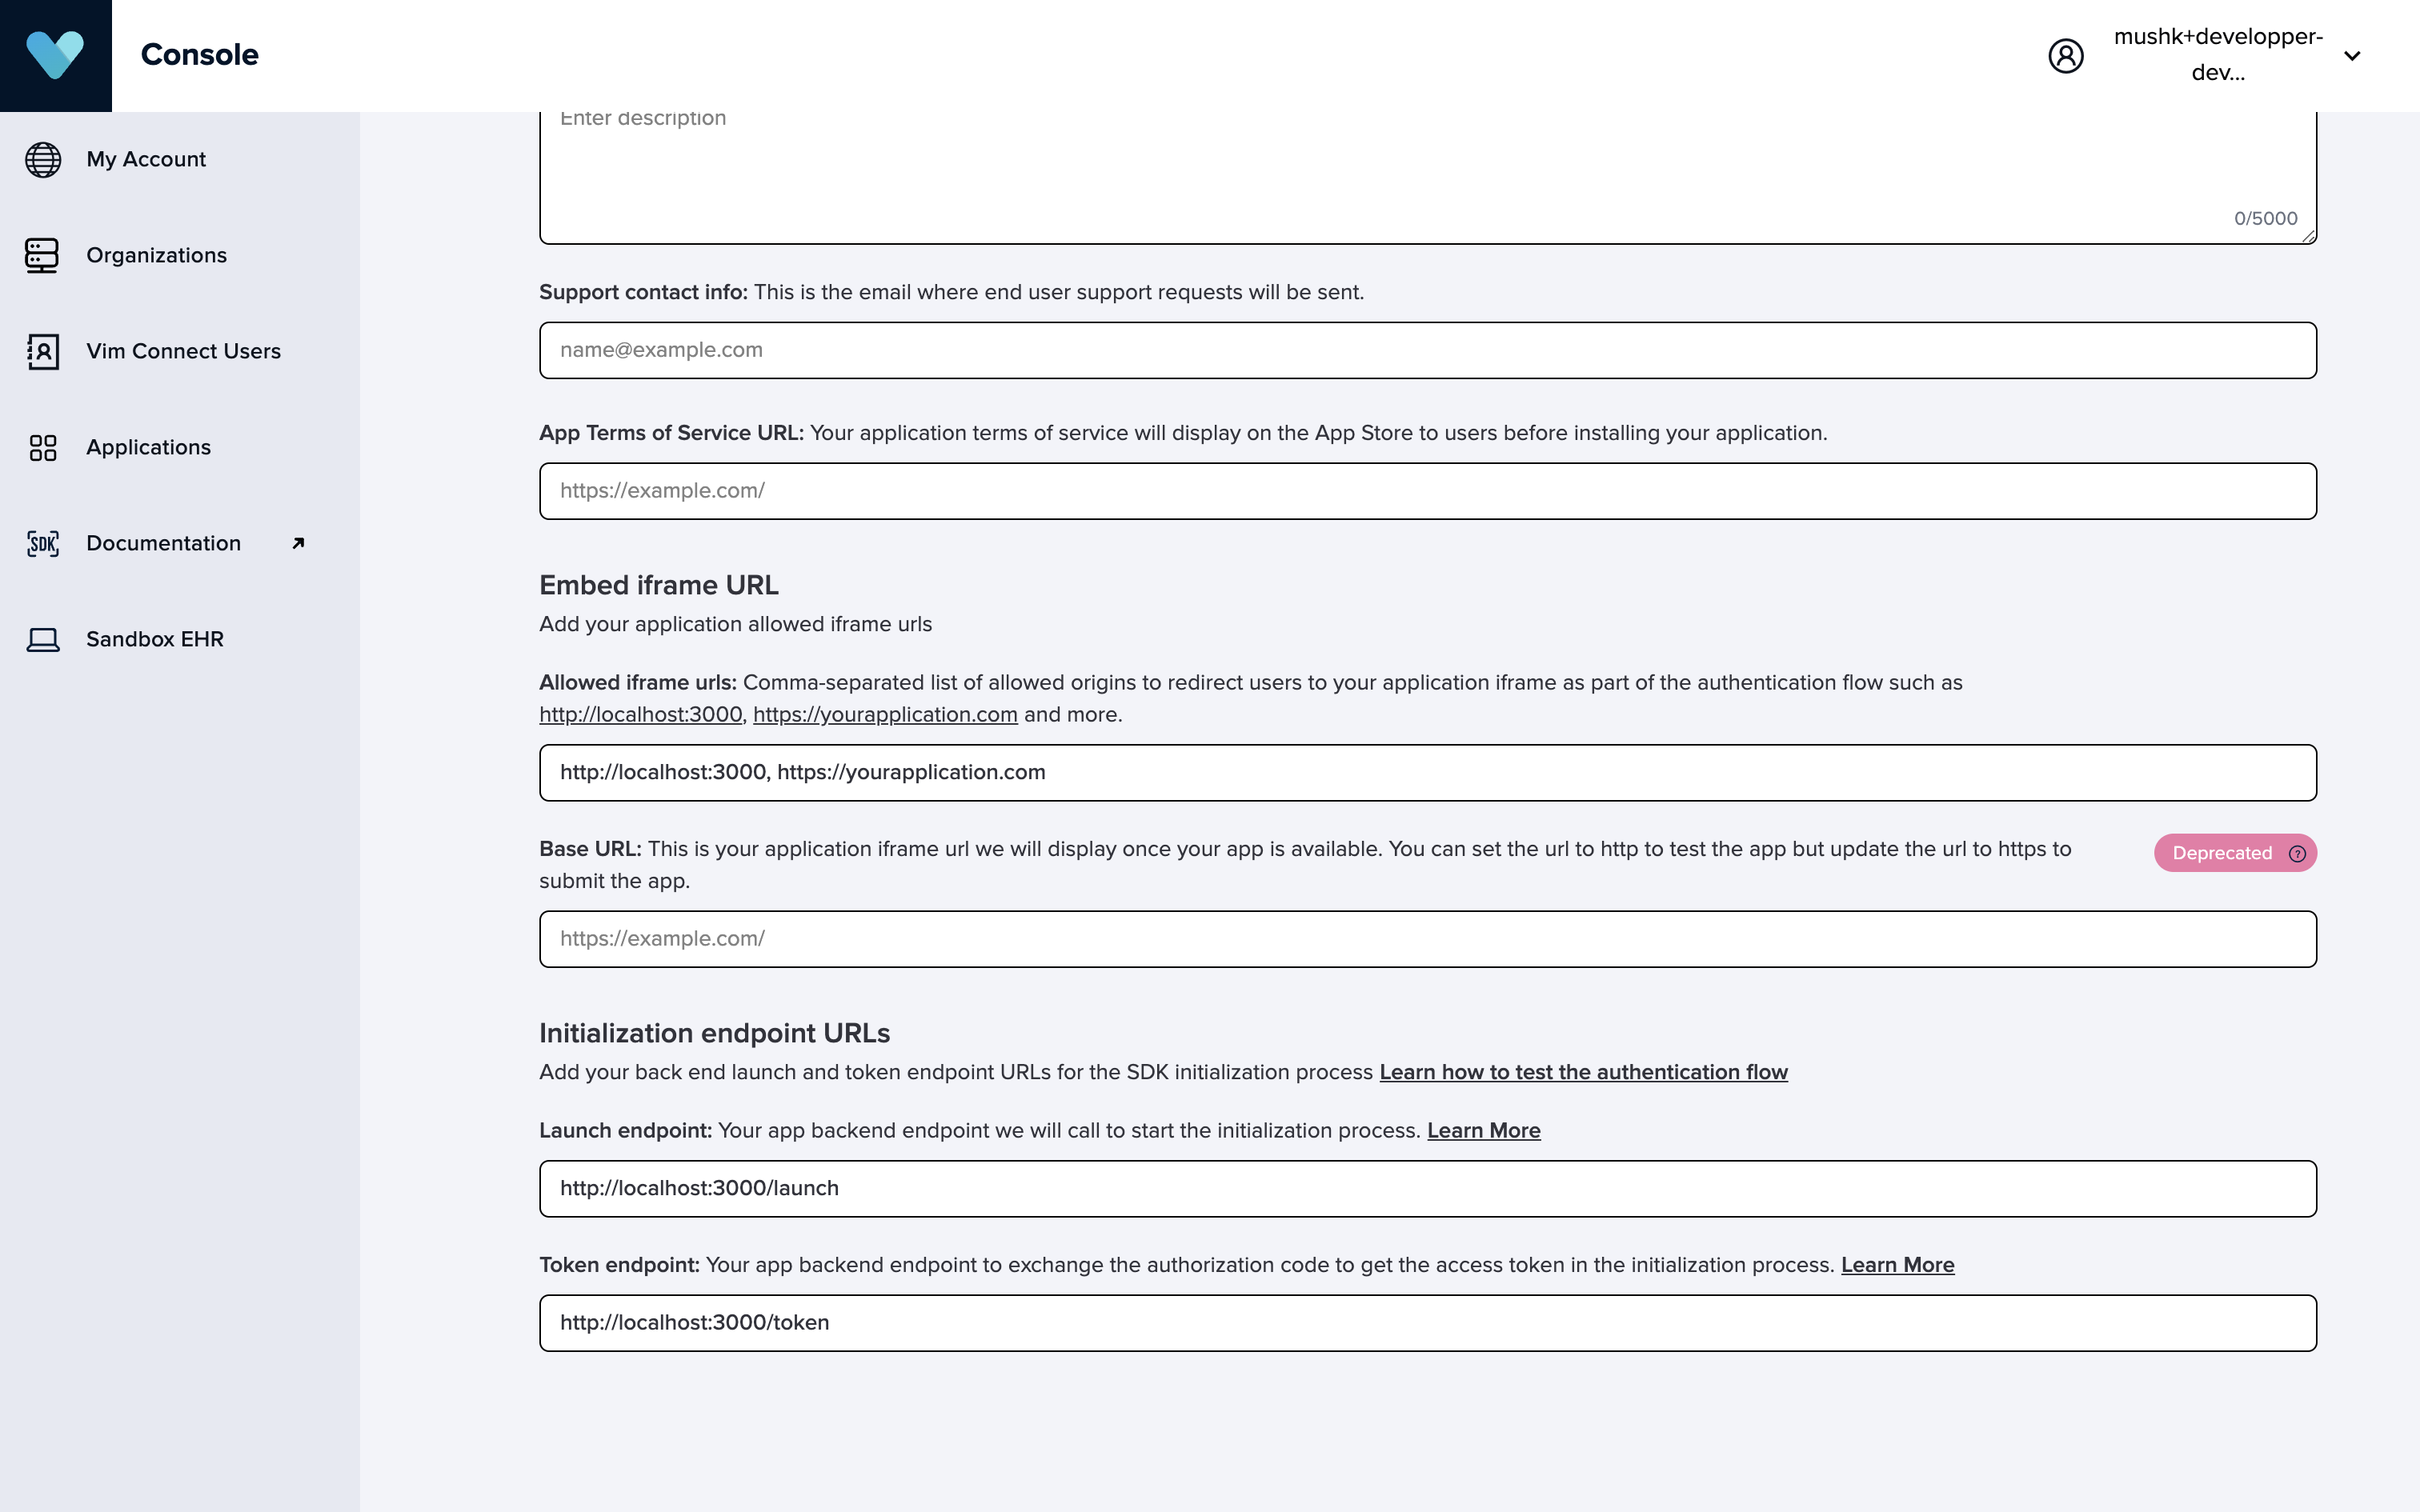
- Support contact info
- Allowed iframe urls: A comma-separated list of allowed origins for the final application iframe after redirects, such as
http://localhost:3000, https://yourapplication.comand others. This replaces the deprecated "Base Url" field. - Launch Endpoint: The initial endpoint called during the authentication flow. This endpoint should redirect to the Vim authorization endpoint and pass along the app's frontend redirect URI. For more details, refer to the section in the implementation guide.
- Token Endpoint: This is the OAuth2 endpoint used during the authentication process. It allows you to exchange the authorization code for an access token, which is necessary to access Vim EHR resources, and also provides an ID token for application usage. For more details, refer to the section in the implementation guide.
From the Vim Hub features tab, you can set up the below settings:
- Size
- Notification badge
- Push notification
- Auto popup
- App always available
- Your application can remain enabled and active for end users regardless of their workflow as soon as they log in to the EHR. In this case, set your application as "always available" in the application manifest. You can use all Vim Hub engagement features, such as push notifications and notification badges, to interact with end users.
- Note: When you enable your application with the "always available" feature in the manifest, your application's icon will always show as enabled. However, the Vim Hub heart icon will remain disabled regardless of your application state, to avoid user fatigue. Users can hover over it to see and access your application.
- Vim Hub patient header
From the EHR workflow resources tab, you can Select which specific entities your application needs to read from and / or write to the EHR.
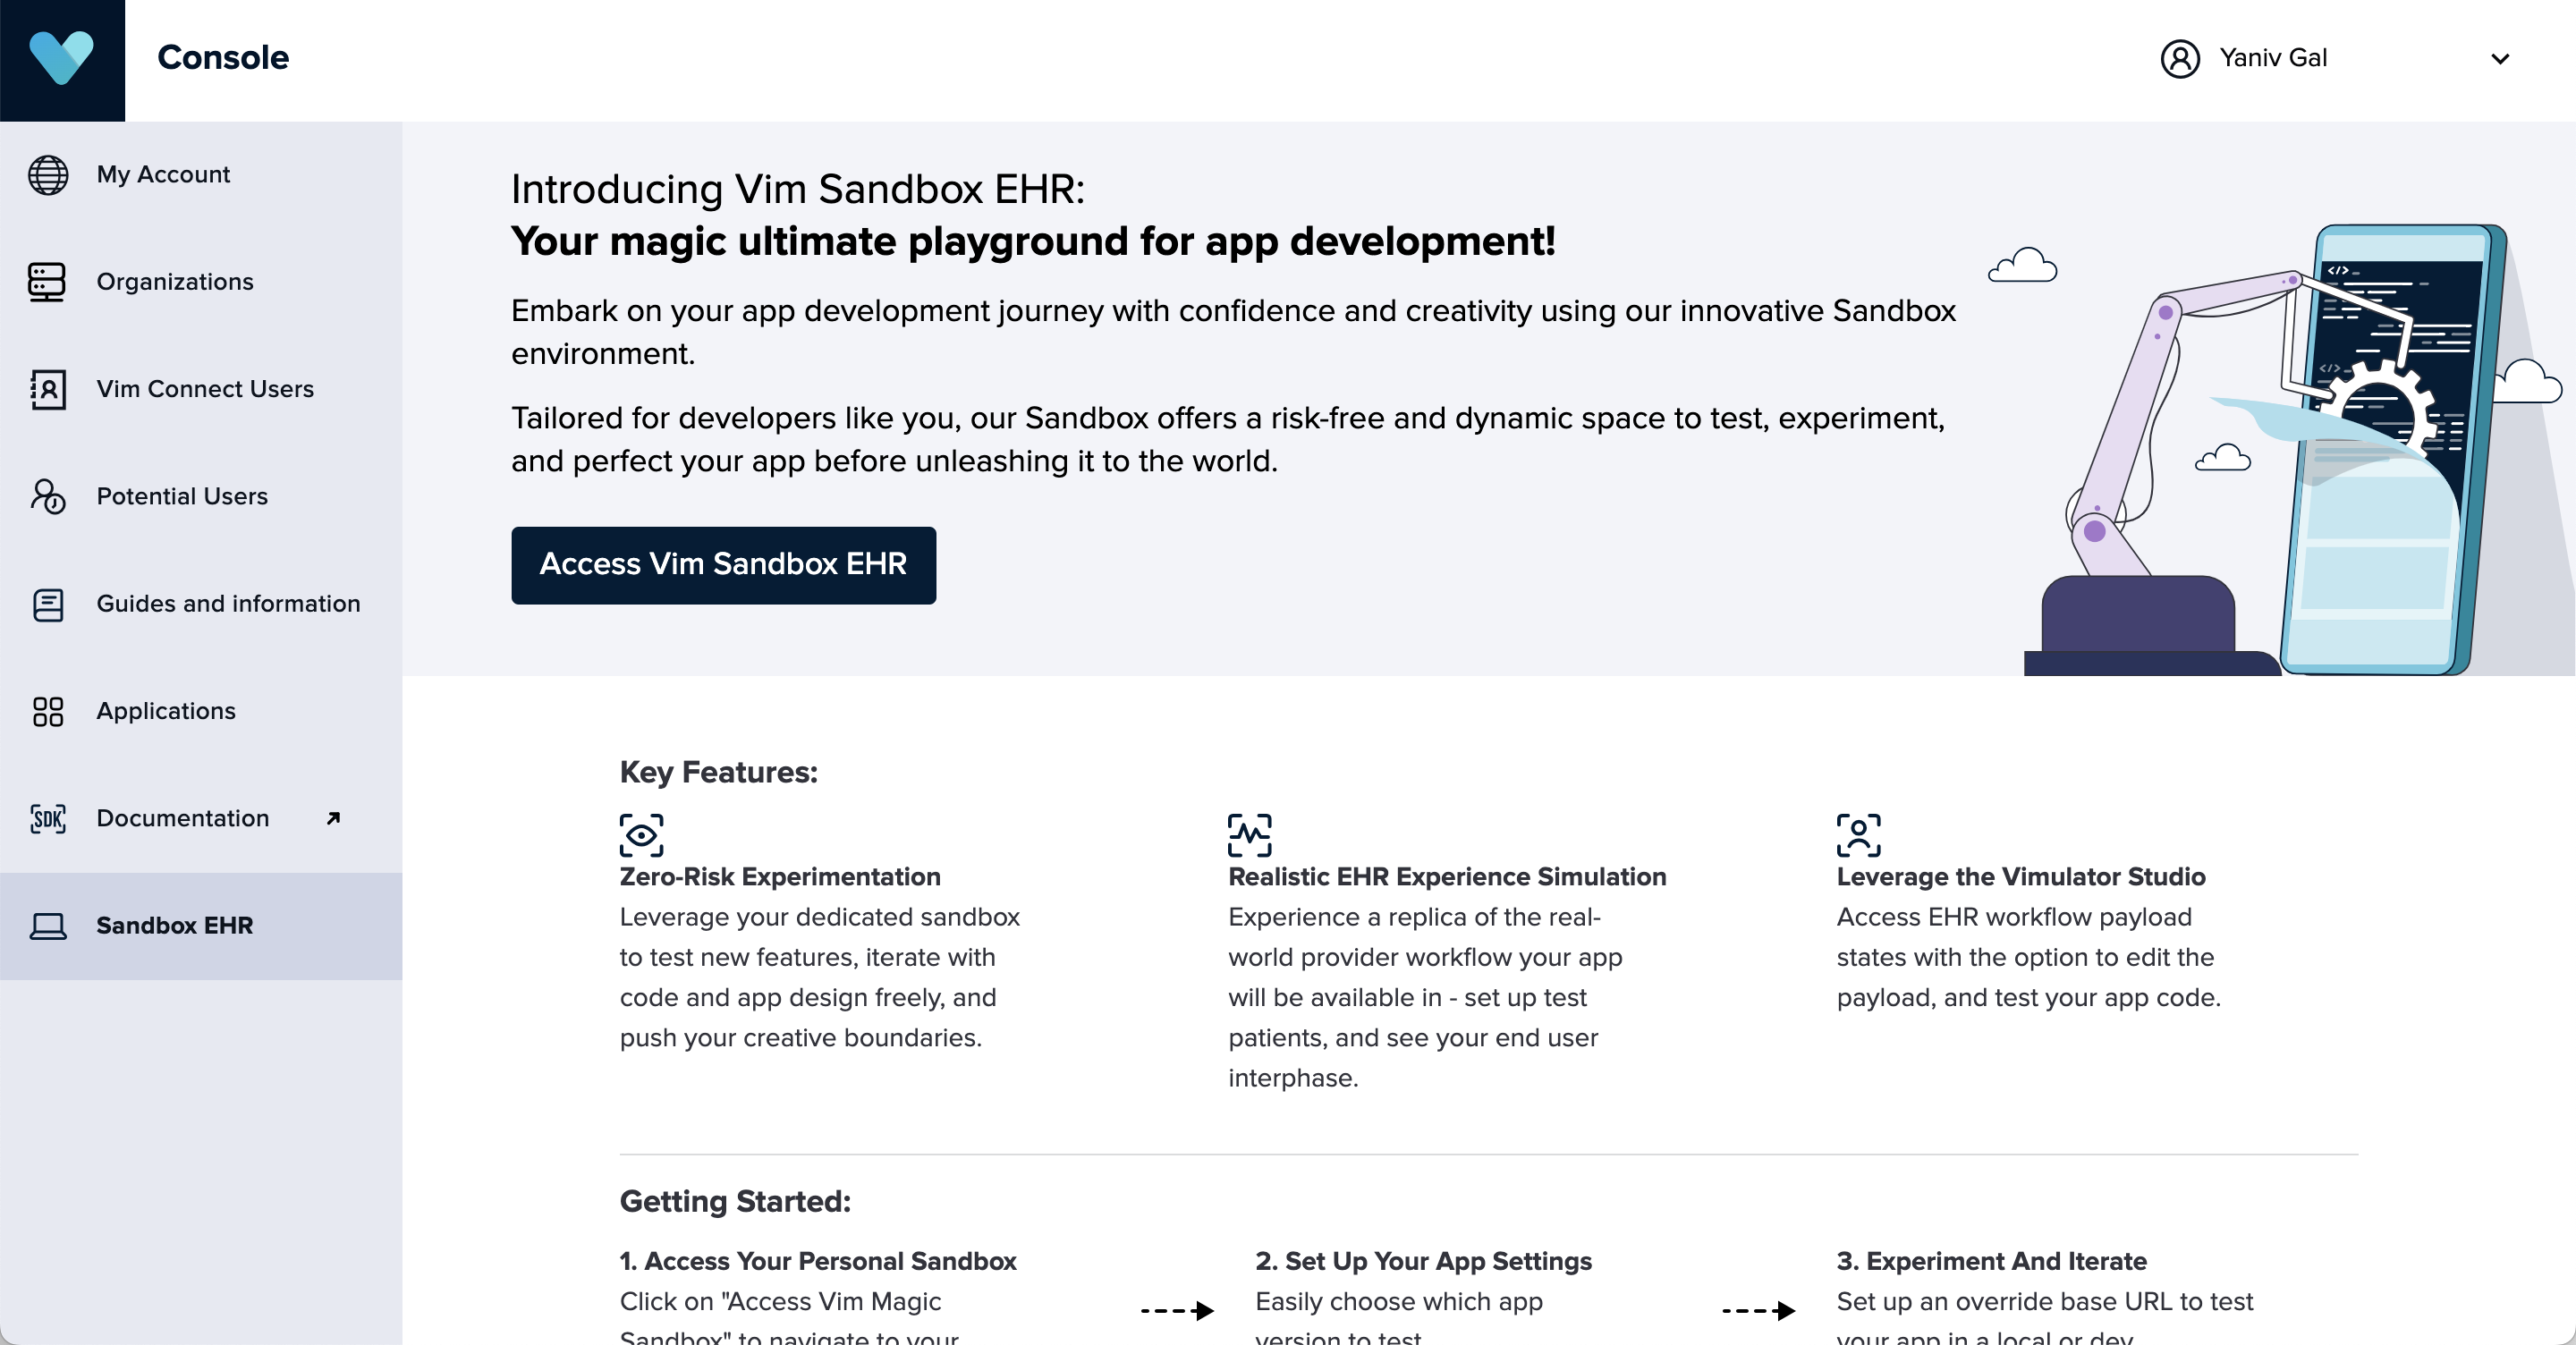
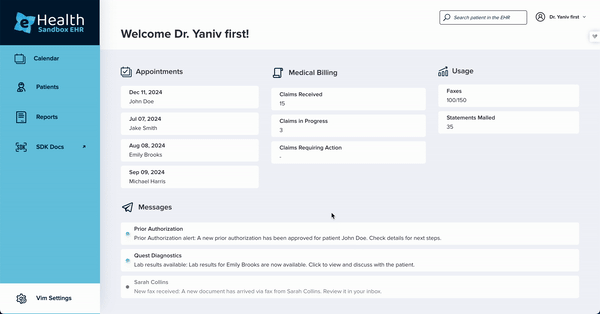
Testing your application within Vim's Sandbox EHR
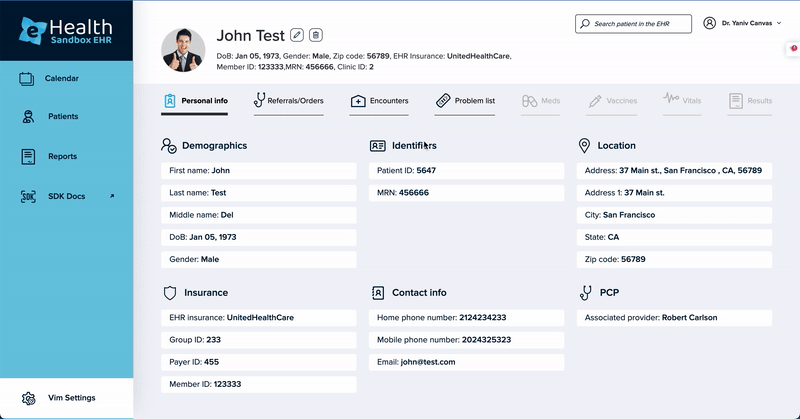
The Vim Sandbox EHR is a mock environment designed for app developers to confidently build and test their applications. It offers a risk-free space to experiment and perfect apps, replicating real-world provider workflows. You can set up test patients and see your user interface. The sandbox functions like any integrated EHR, allowing you to build your integration once for seamless compatibility with other supported EHRs.
Accessing Vim Sandbox EHR
To access the Vim Sandbox EHR:
Login to your Vim Canvas™️ developer account..
On the left menu, click on the Sandbox EHR tab.
a. Note: If you don’t see the Sandbox EHR tab, please reach out to us.
b. Alternatively, you can access a specific app version by clicking on Test from the application manifest page.
Click on "Access Vim Sandbox EHR".
Log in to the Sandbox EHR:
If you access the Sandbox EHR while being logged in to your Vim Canvas™️ developer console, you shall be automatically logged in to the Sandbox EHR.
If you are not logged in, click on the
loginbutton, then select theContinue with Vim Consoleoption, and enter your Vim Console username and password to access the Sandbox EHR.
Wait for up to 30 seconds for the Vim Hub to display as an overlay on top of the Sandbox EHR.
You will be able to see your application from there.
Note:
Note:
If you see your application icon consistently in a Disabled state, this means that there was no logic implemented in your code base to dynamically control the activation status and set it to Enabled based on your application specific business logic following these instructions.
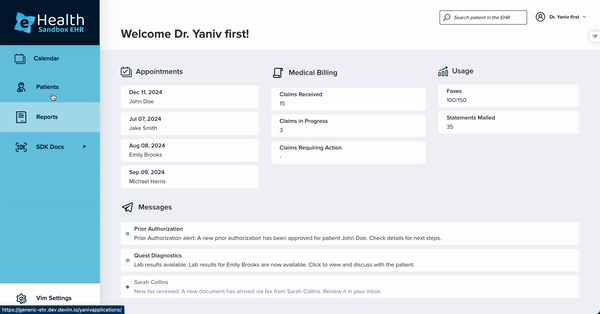
Enabling, disabling and overriding applications settings to point to local / staging / testing or any custom environment with the Vim settings section
Once logged in to the Sandbox EHR, click on the left Vim Settings tab.
Under Application management, you will see the applications available to your account.
Click on the enable / disable toggle to add or remove the app to your user.
(Optional) Click on the application card to expand it and fill in the details to override your application launch and token urls:
a. Version: Add the specific app version number you want to customize. You can find it under your application manifest
b. Add your desired url on the Launch endpoint.
c. Add your desired url on the Token endpoint.
(optional) You can clear the override section by clicking on delete icon.
Click on "Save and reload page".
Your should be all set.
How to add data to the Sandbox EHR
On the Sandbox EHR, you can create patients, encounters, referrals, orders and more. All of the data you add to the Sandbox EHR will be stored under your account instance and available to other users belonging to your account.
Creating a new patient:
- Click on “Patients” on the left menu to navigate to the Patients page.
- Click the “New Patient” button on the top right corner.
- Fill in patient information. All fields marked with * are mandatory.
- Click on "Save".
Creating a patient encounter:
- Click on “Patients” on the left menu to navigate to the Patients page.
- Click on a patient to select it.
- Click on the "Encounter" tab.
- Click on the “New Appointment” button.
- Fill in the appointment information:
Reason for the visit - can be any string.
DateTime range - can be any future date.
External ID - not mandatory, used to link encounter ID with an external one when needed.
- Click on “Save”.
- Under Future Appointments, select an encounter by clicking on “Clinical Notes”.
- You are now in the encounter modal.
Creating a patient referral:
- Click on “Patients” on the left menu to navigate to the Patients page.
- Click on patient to select it.
- Click on "Referrals/Orders" tab.
- Click on the “New Referral” button.
- Fill in the referral information.
- Click on “Save”.
Creating a patient order:
- Click on “Patients” on the left menu to navigate to the Patients page.
- Click on a patient to select it.
- Click on "Referrals/Orders" tab.
- Click on the “New Order” button.
- Fill in the order information.
- Click on “Save”.

Adding problems to the problem list:
- Click on “Patients” on the left menu to navigate to the Patients page.
- Click on a patient to select it.
- Click the “Problem list” tab.
- Click the “New problem” button.
- Search diagnosis by ICD code.
- Add a comment under “Notes” (can be any string).
- Click on “Add”.