Appearance
Introduction
The Vim Sandbox EHR is a mock environment designed for app developers to confidently build and test their applications. It offers a risk-free space to experiment and perfect apps, replicating real-world provider workflows. You can set up test patients and see your user interface. The sandbox functions like any integrated EHR, allowing you to build your integration once for seamless compatibility with other supported EHRs.
Accessing Vim Sandbox EHR
Login to your Vim Canvas™️ developer account.
On the left menu, click on the Sandbox EHR tab.
note
TIP
- If you don’t see the Sandbox EHR tab, please reach out to us.
- Alternatively, you can access a specific app version by clicking on Test from the application manifest page.
Click on "Access Vim Sandbox EHR".

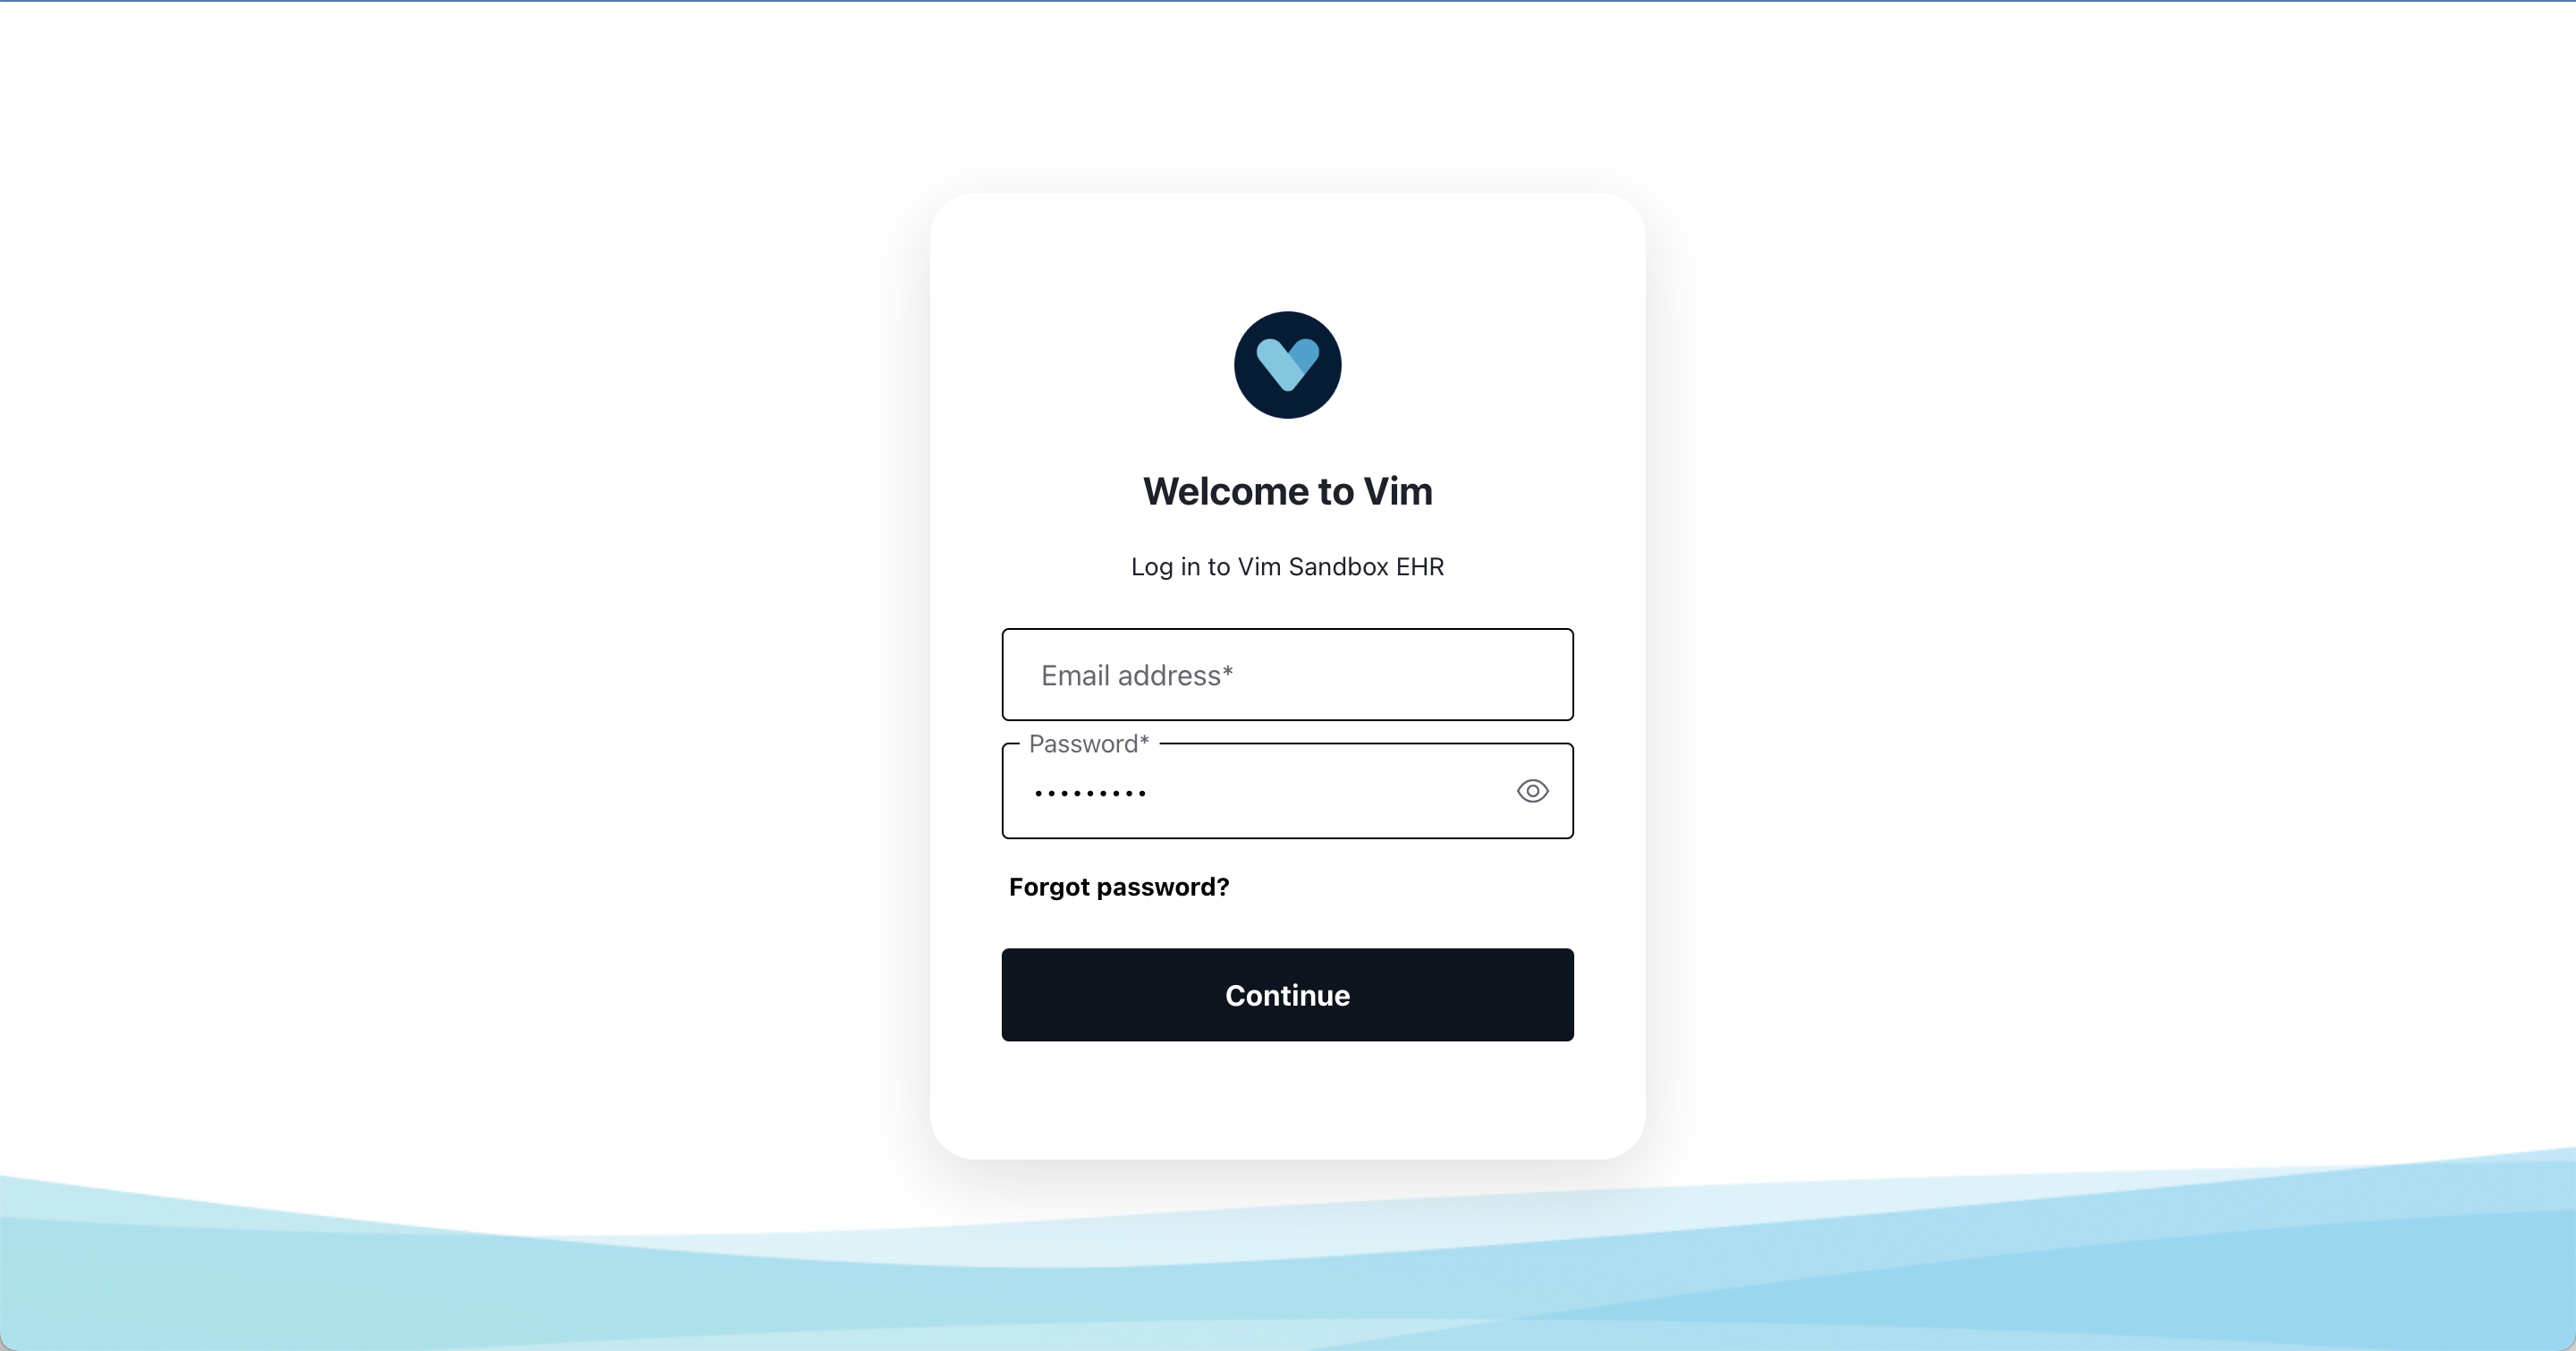
Log in to the Sandbox EHR:
- If you access the Sandbox EHR while being logged in to your Vim Canvas™️ developer console, you shall be automatically logged in to the Sandbox EHR.
- If you are not logged in, enter your Vim Console username and password to access the Sandbox EHR.
Wait for up to 30 seconds for the Vim Hub to display as an overlay on top of the Sandbox EHR.
You will be able to see your application from there.
note
TIP
If you see your application icon consistently in a Disabled state, this means that there was no logic implemented in your code base to dynamically control the activation status and set it to Enabled based on your application specific business logic following these instructions.
Enabling, disabling and overriding applications settings
- Once logged in to the Sandbox EHR, click on the left Vim Settings tab.
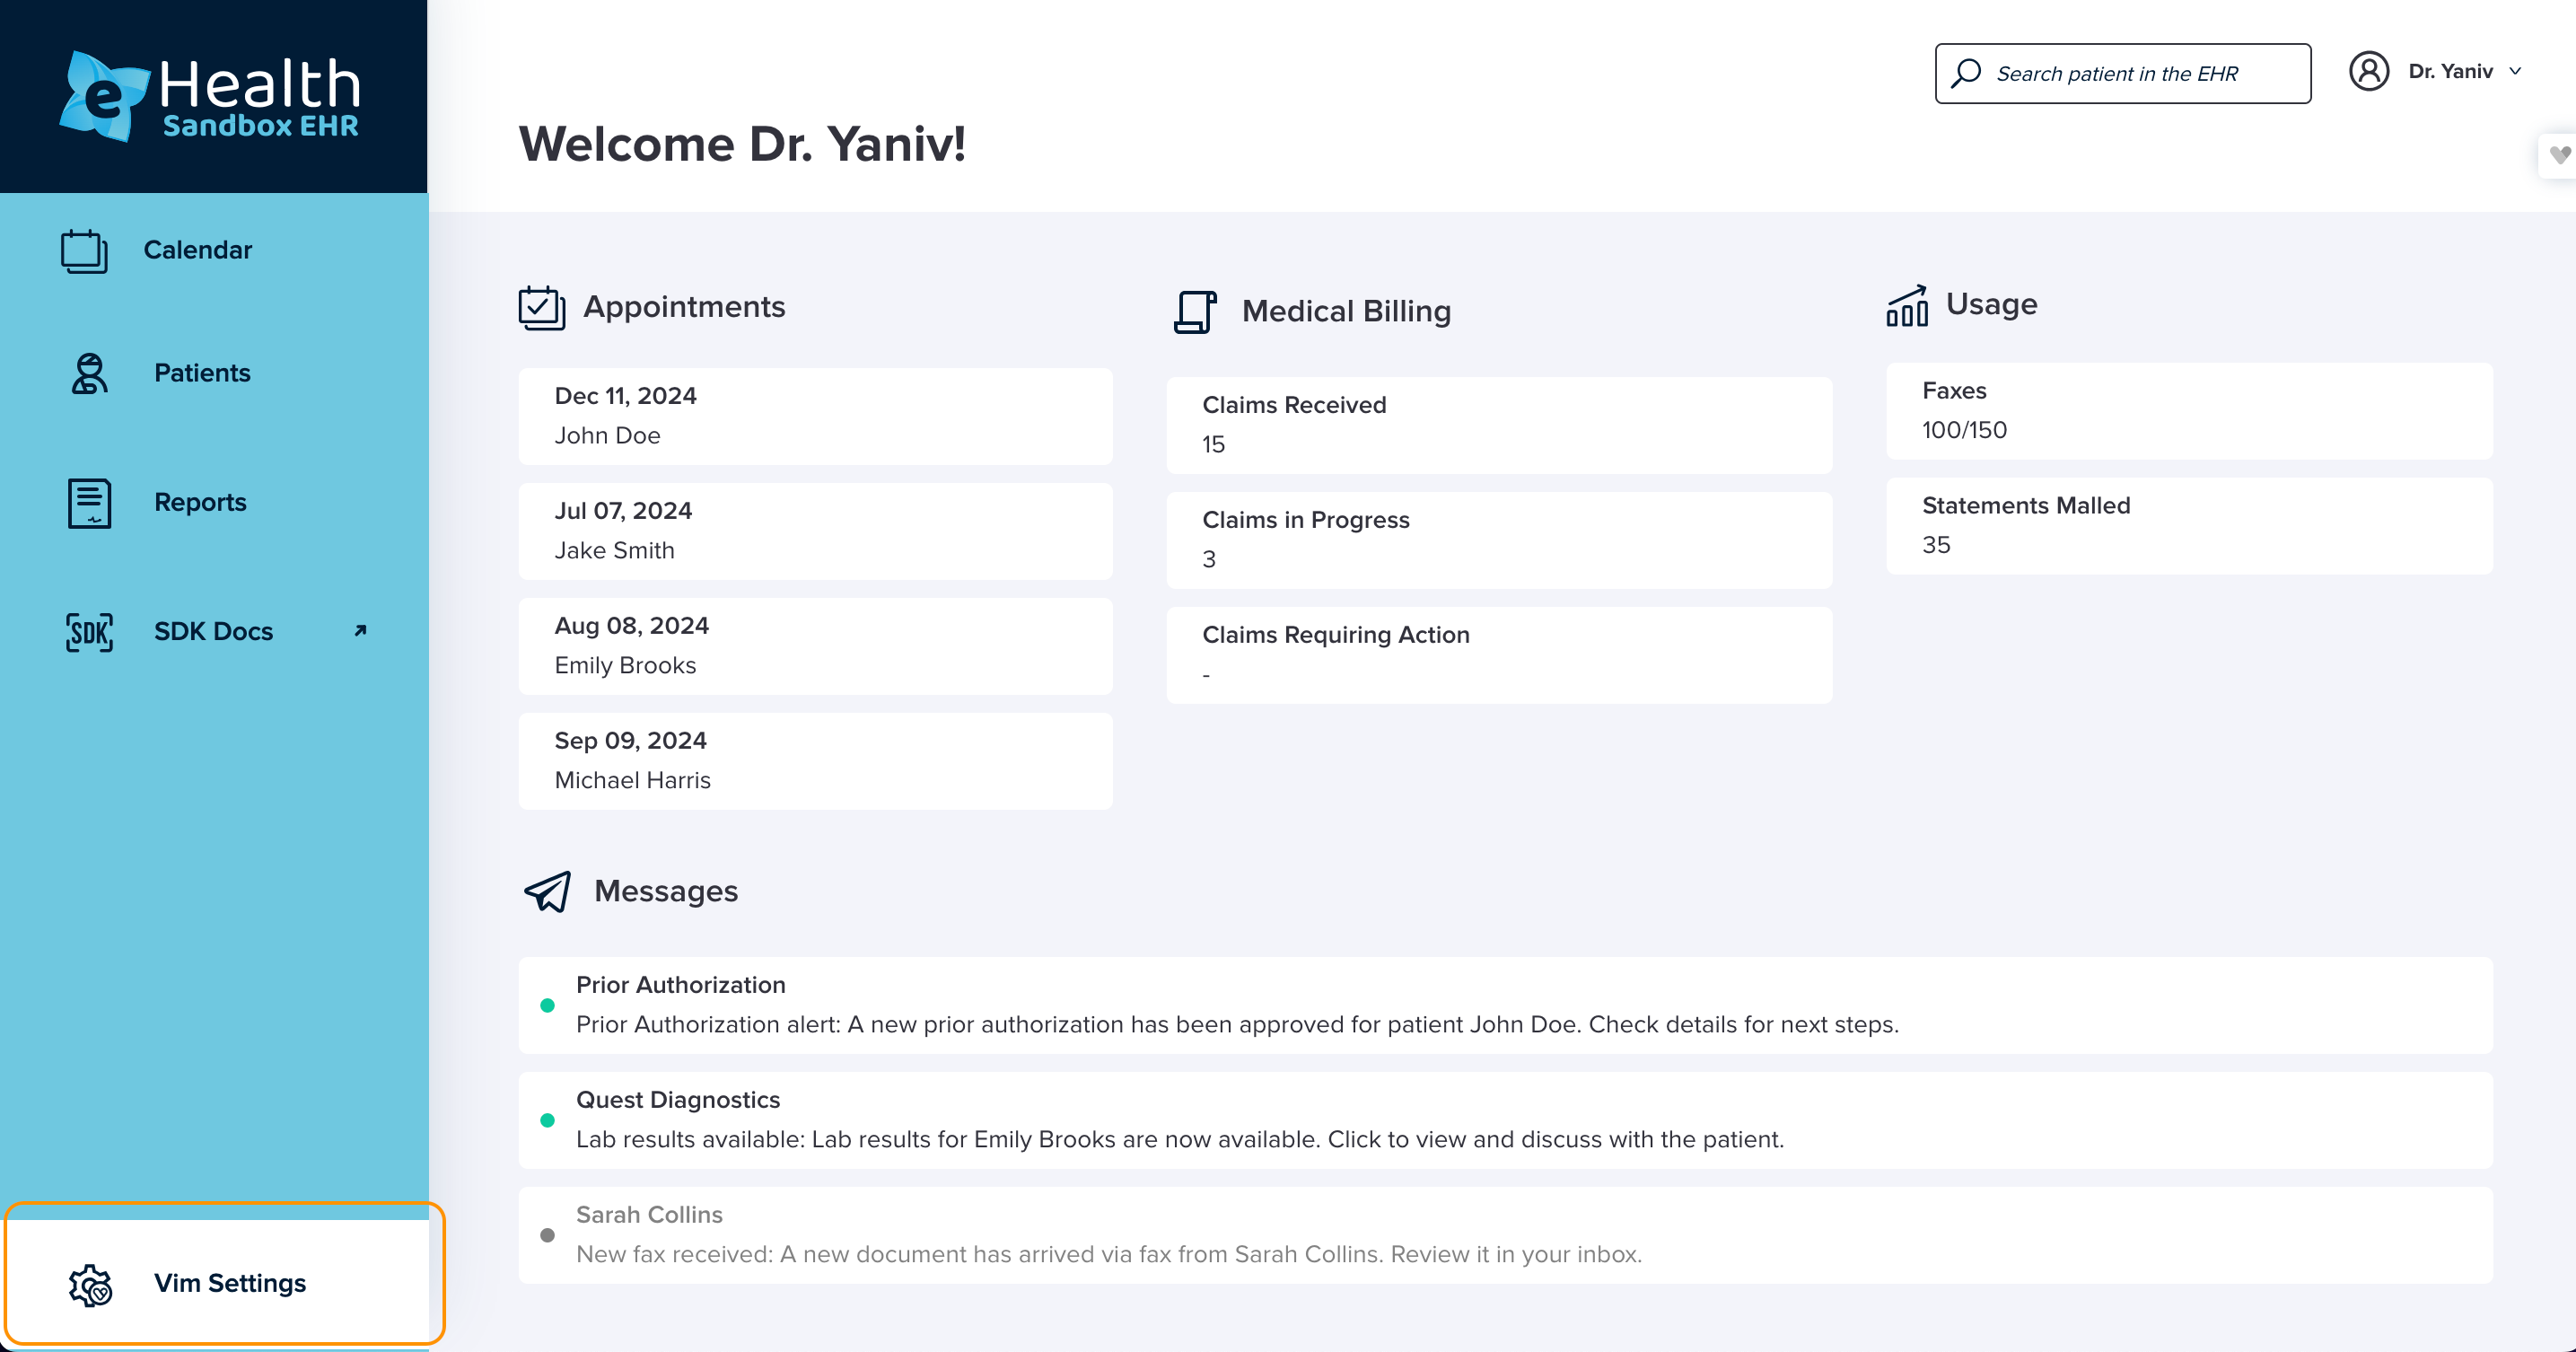
- Under Application management, you will see the applications available to your account.
- Click on the Enable / Disable toggle to add or remove the app to your user.
- (Optional) Click on the application card to expand it and fill in the details to override your application launch and token urls:
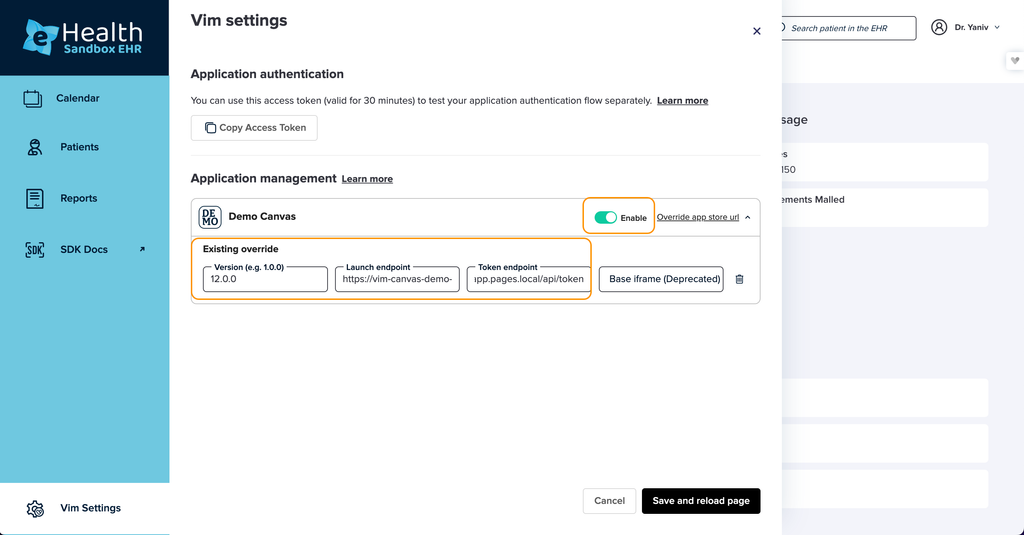
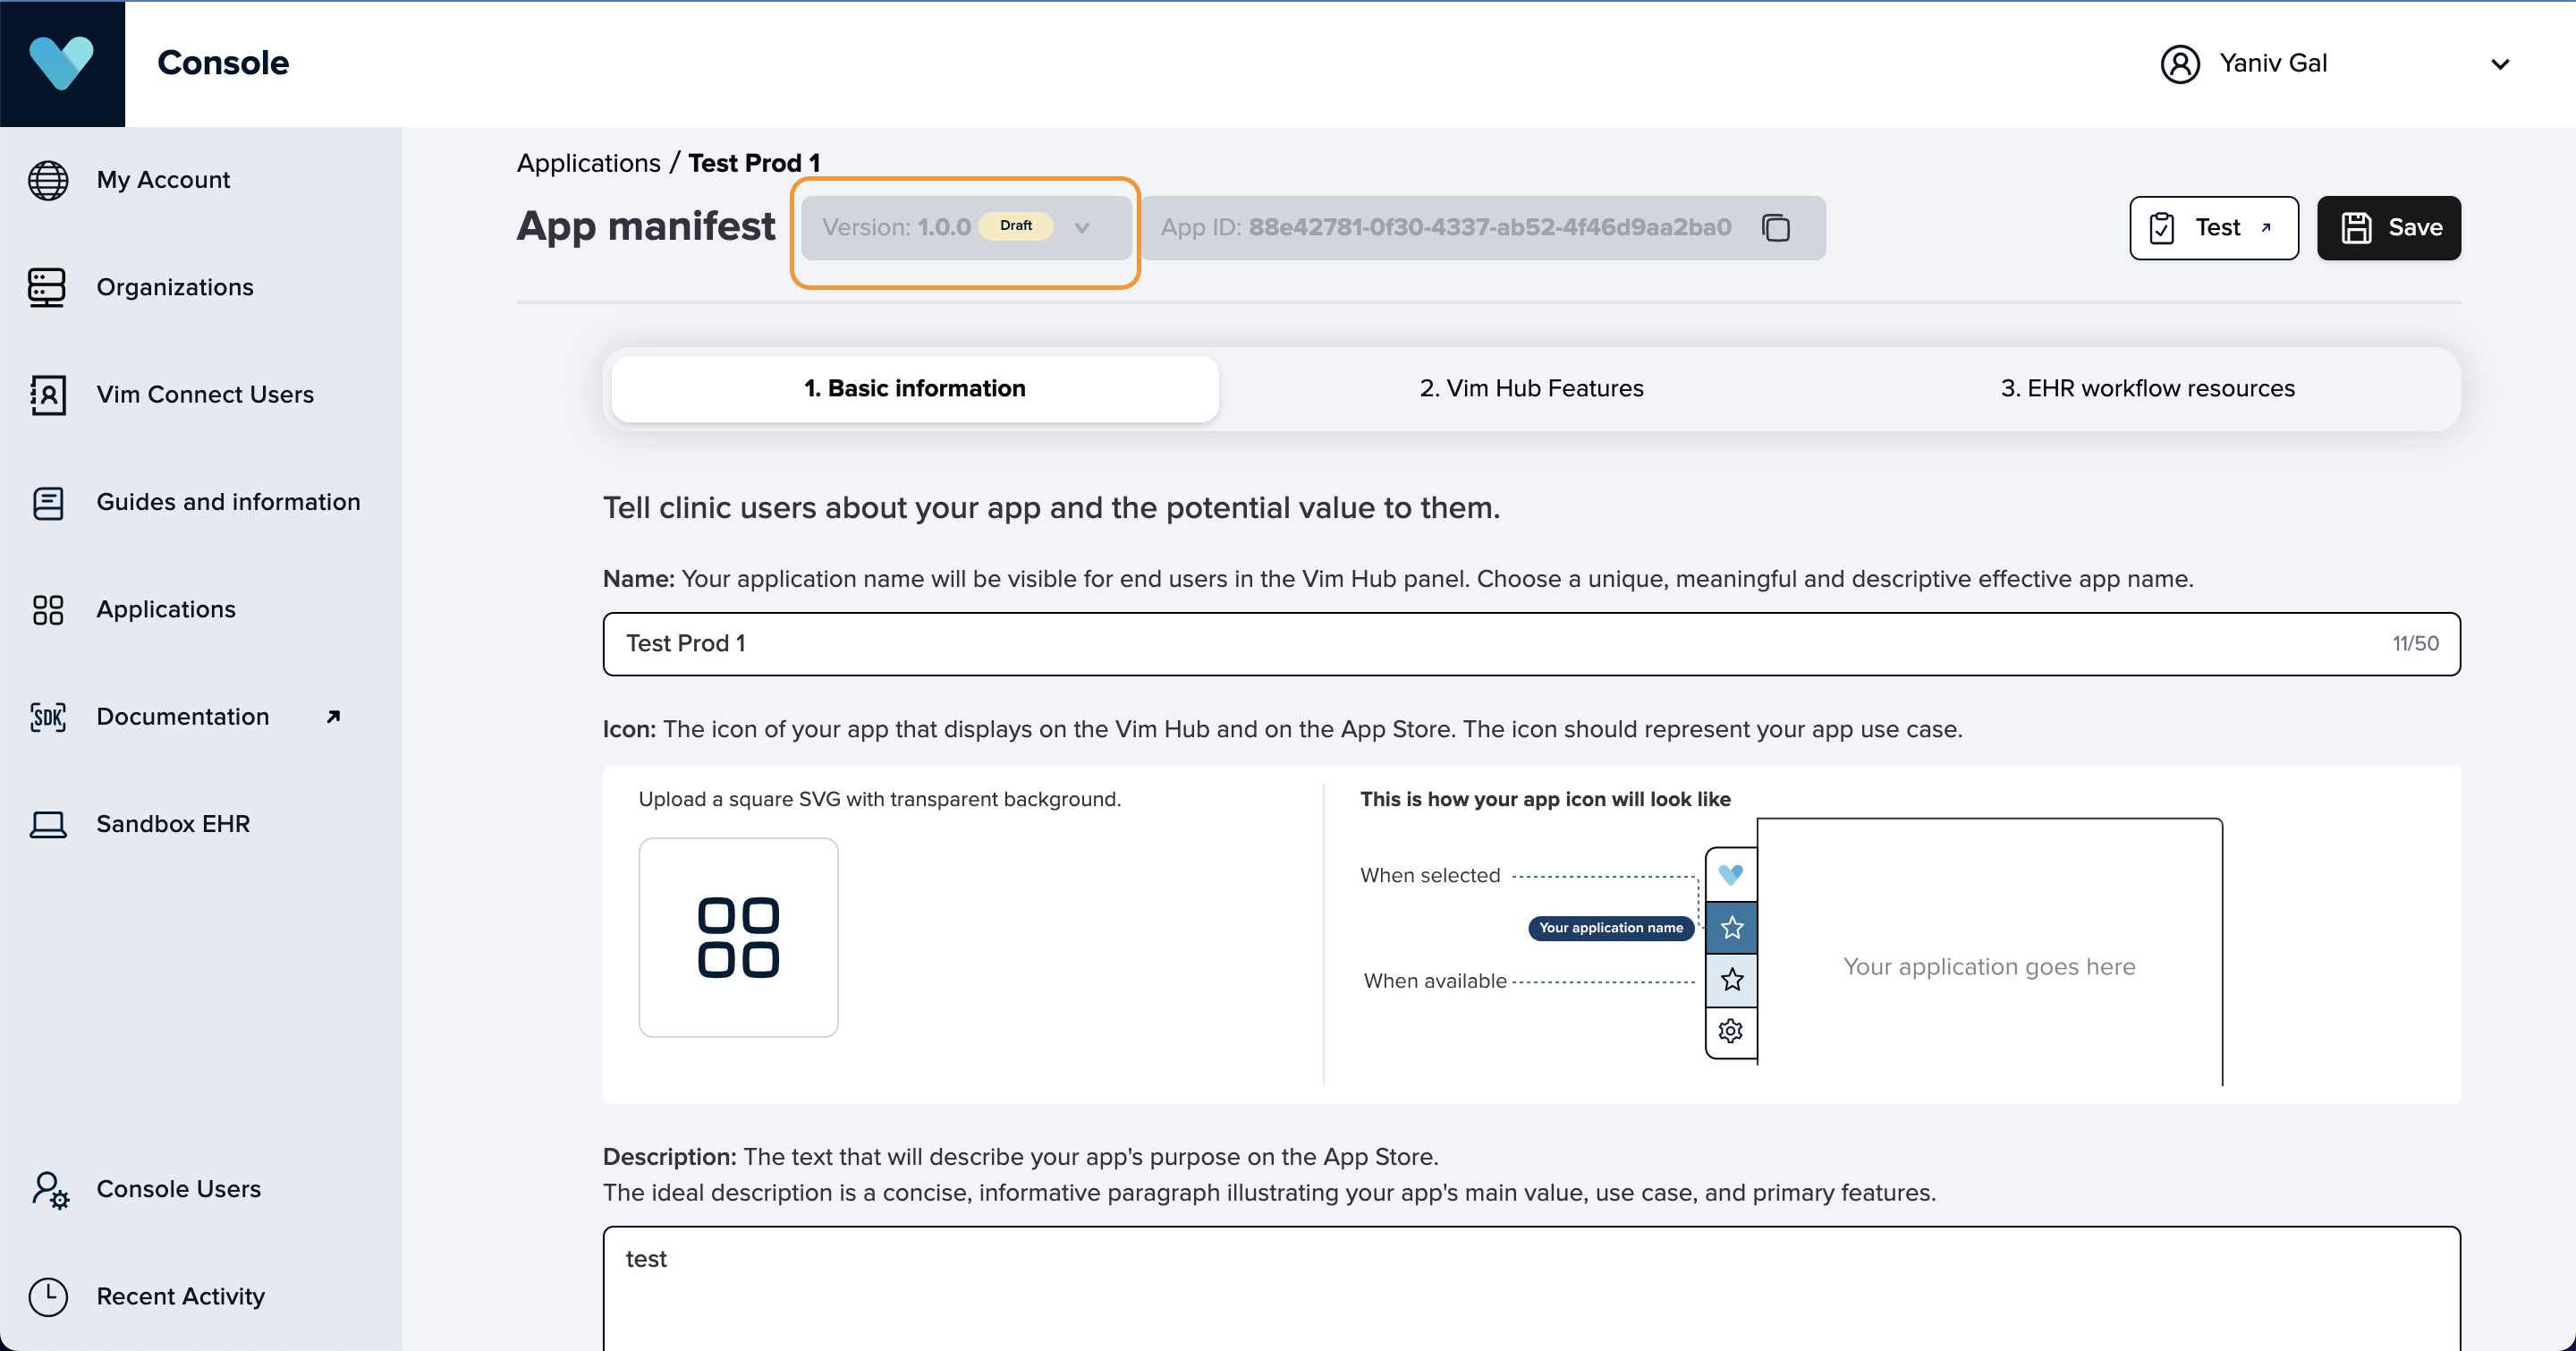
Version: Add the specific app version number you want to customize. You can find it under your application manifest
a. Add your desired url on the Launch endpoint.
b. Add your desired url on the Token endpoint.(optional) You can remove the override section by clicking on delete icon.
Click on "Save and reload page".
Your should be all set.
Managing multiple application versions across environments
To support your need to manage different versions of your application for production, test, demo, local, or other environments, you have two options:
- Create separate applications for each environment:
You can build distinct applications for each environment. This approach allows you to manage each environment independently, ensuring clear separation between your production, test, demo, and local versions. - Use a single application with multiple versions:
You can build one application and create different versions for each environment. This way, you can maintain a single application structure while managing different configurations or features for each environment version.
Both approaches allow flexibility in handling environment-specific needs, depending on how you prefer to manage deployment and testing processes.
Using a single application with multiple versions
When a you want to make any change to your manifest for an app version that is in any state than draft (for example live), you need to create a new app version. If you want these changes to apply to your app live version, you need to submit your app version to review and mark your new app version as live.
Alternatively, to manage your application in different environments, you can create different versions for each environment by following the instructions below:
- Access the Applications tab
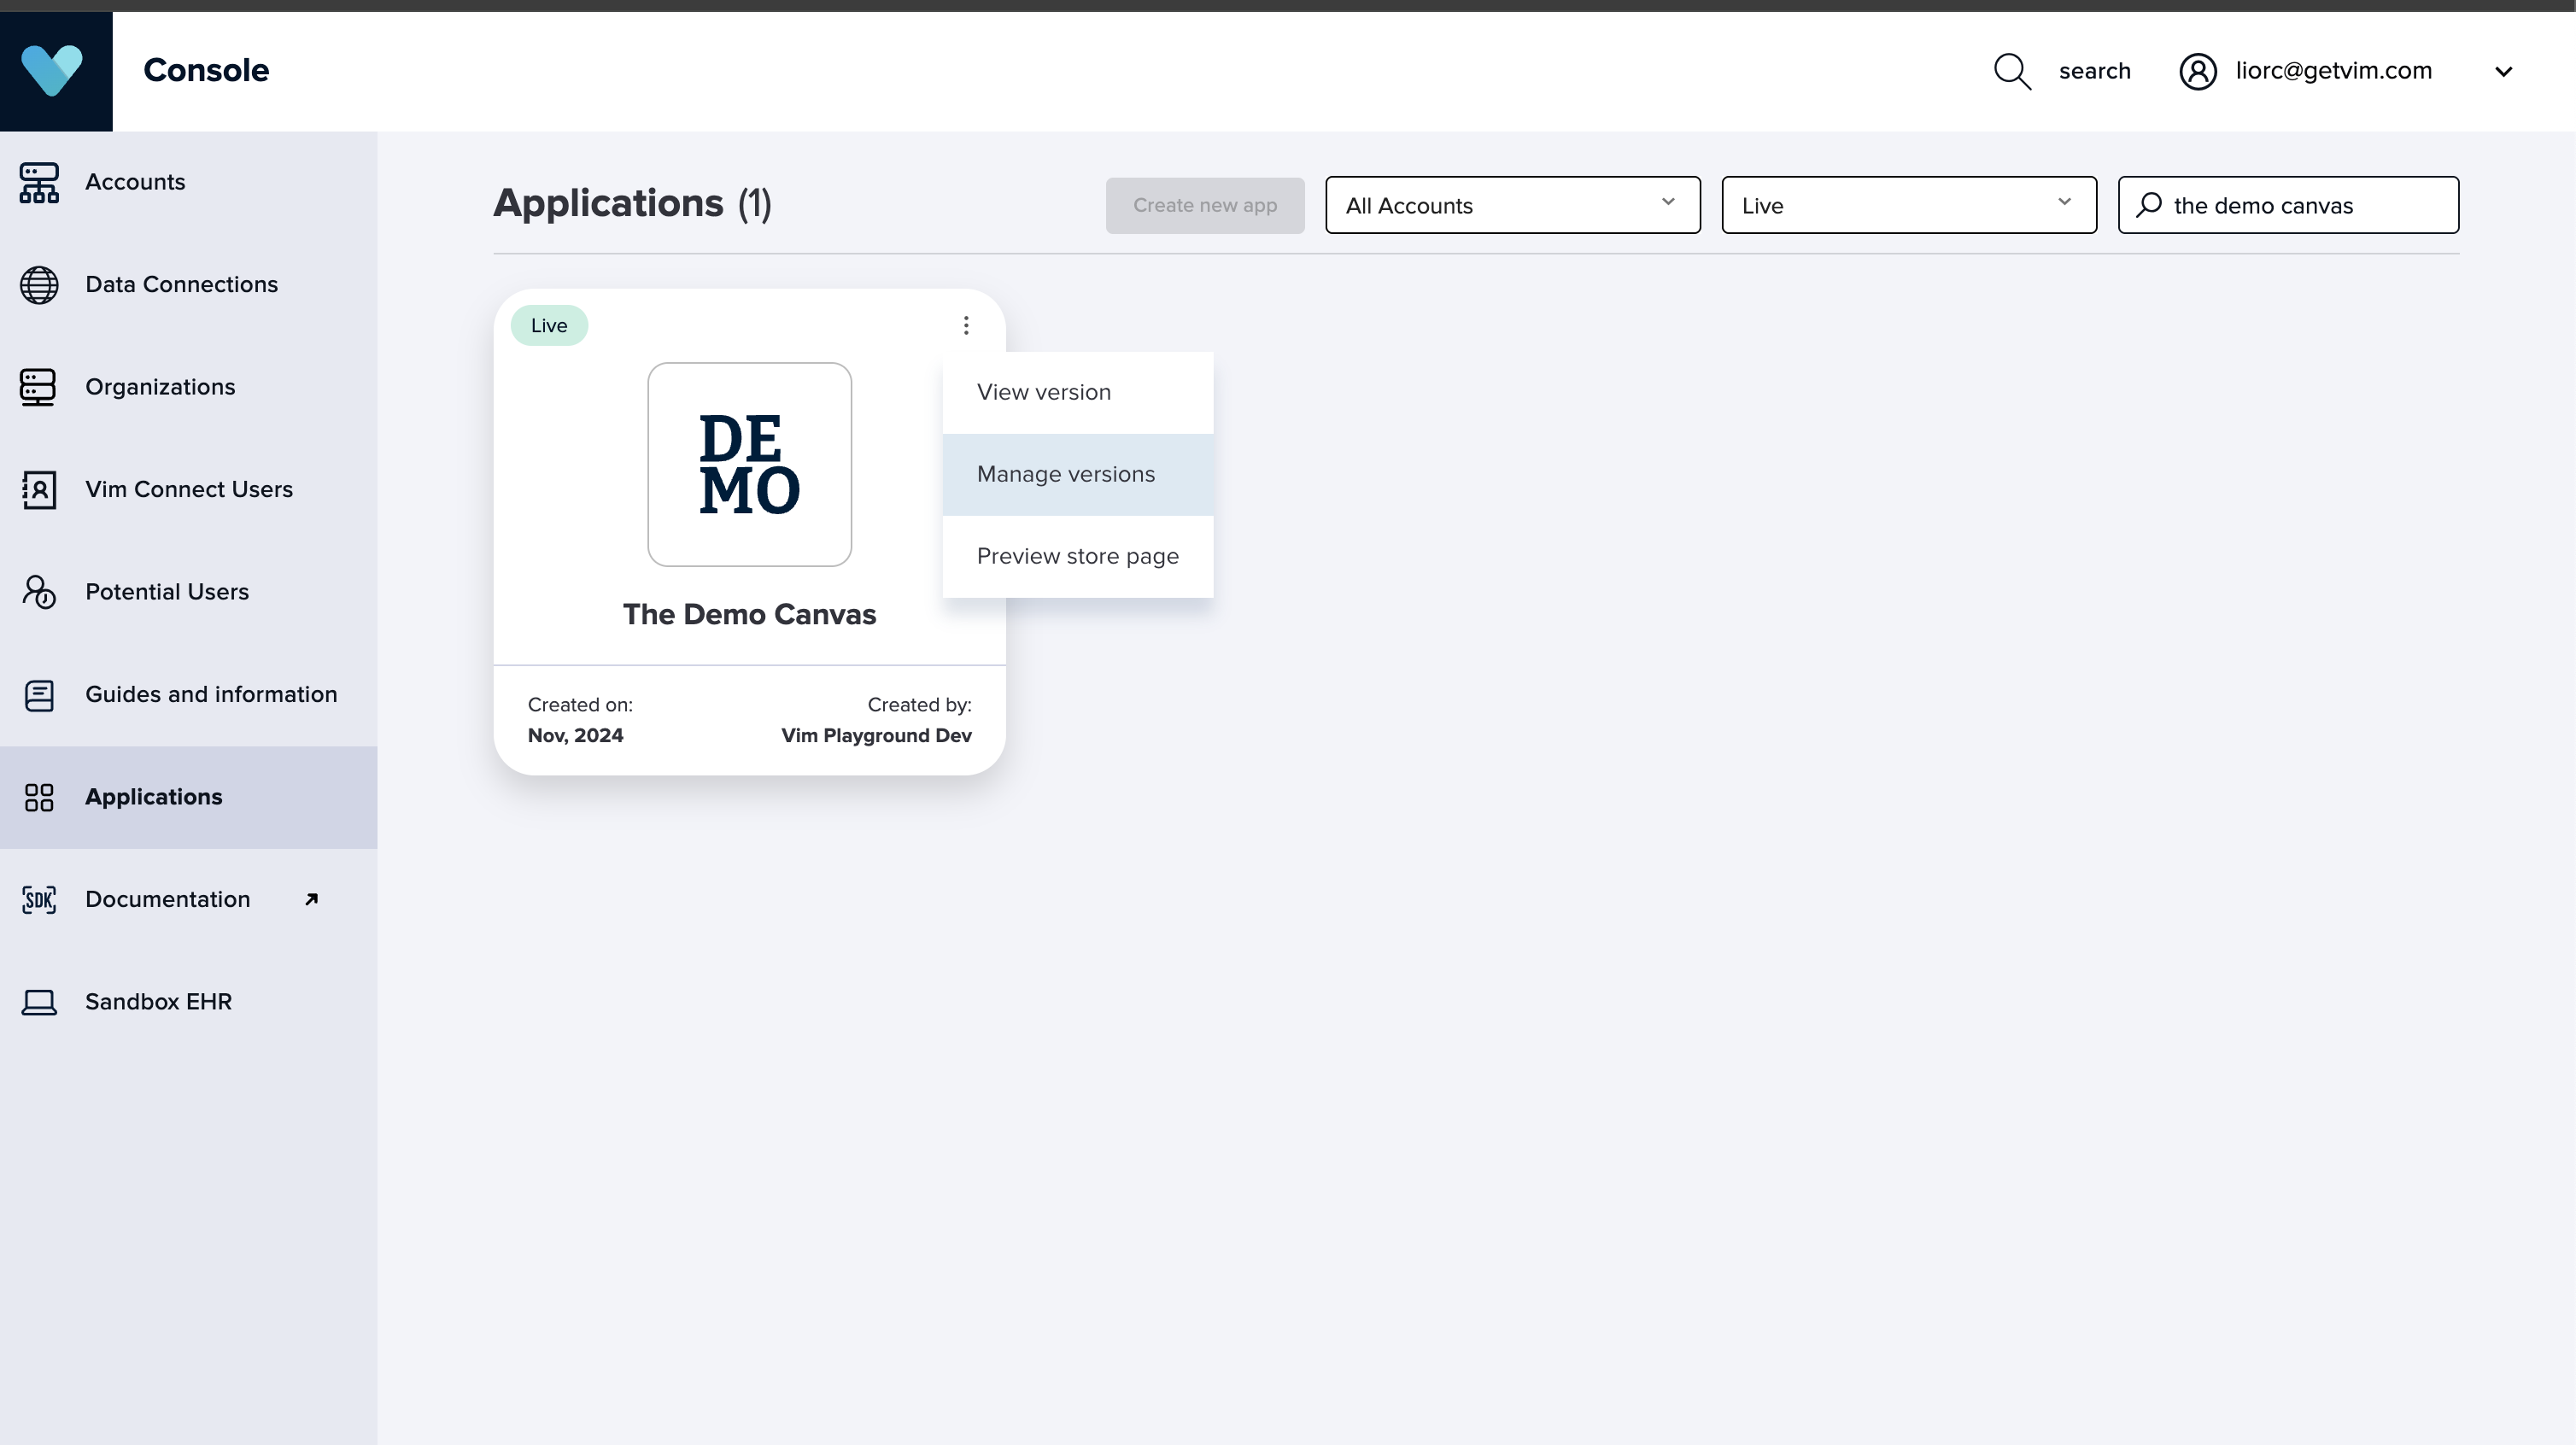
- Hover over your application and click on Manage versions from the action menu.
 3. From the Manage version modal
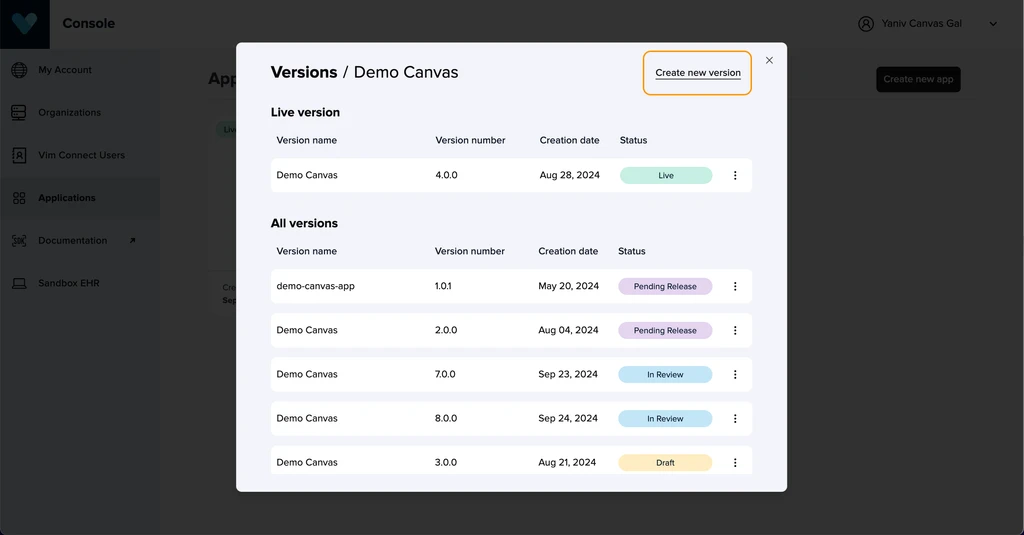
a. Click on Create new version to create a new version from scratch:
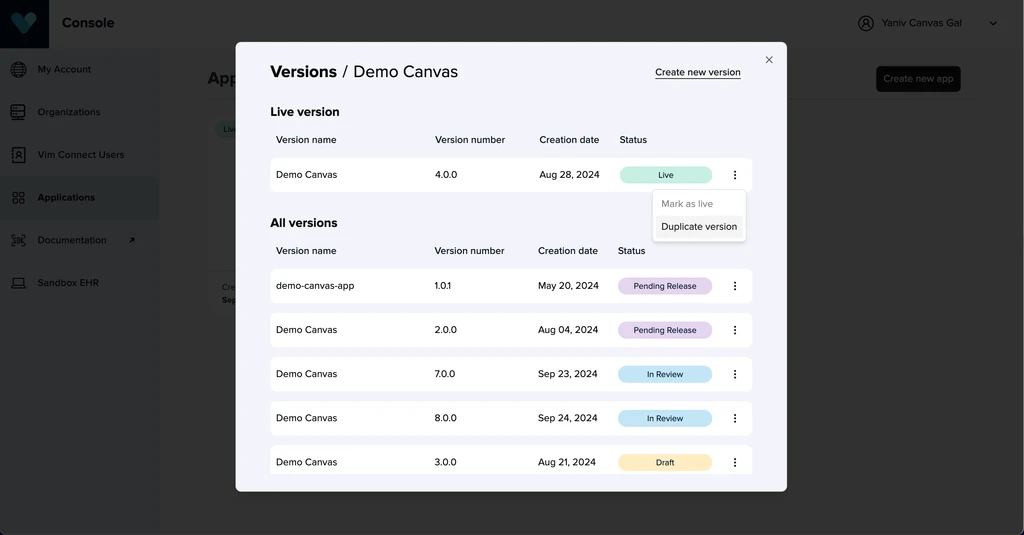
 b. Or click on the action menu of a specific version and click on Duplicate version
- You can now set different allowed iframe, token and / or launch urls pointing to your specific environment. Optional: You can also add to your app name your environment name to easily identify it when moving between versions
