Appearance
Introduction to Vim Canvas™️ developer account experience
Vim provides an easy way for you to test your Vim Canvas™️ application during development. As a Vim Canvas™️ Developer, you’ll get access to the Vim Console — your all-in-one platform for setting up your account, managing applications, overseeing your clinic network, and more. Once your account is created, you (as the Account Admin) will receive an email invitation to get started by logging into the Vim Console and setting up your password. Once done, you can:
Access your Client ID and secret from the My Account tab. You will need them to implement the SDK integration into your app code base.
Invite team members from the Console Users tab.
Create and set your application manifest from the Applications tab.
Review the SDK documentation in the Documentation tab to help you integrate the SDK.
Test your application from the Sandbox EHR tab.
Create and manage multiple applications versions per environment (local, dev, test, demo or any custom) from the Manage versions tab of the built Application.
Submit your application for review to the Vim team.
Mark your application as live.
Once your application is live and installed to clinics and users, you will see and manage (add/remove) the clinics from the Organizations tab and the clinic end users from the Vim Connect Users.
Activating your Vim Canvas™️ developer account
- Look out for an email with the subject line: "You now have access to Vim Connect!"
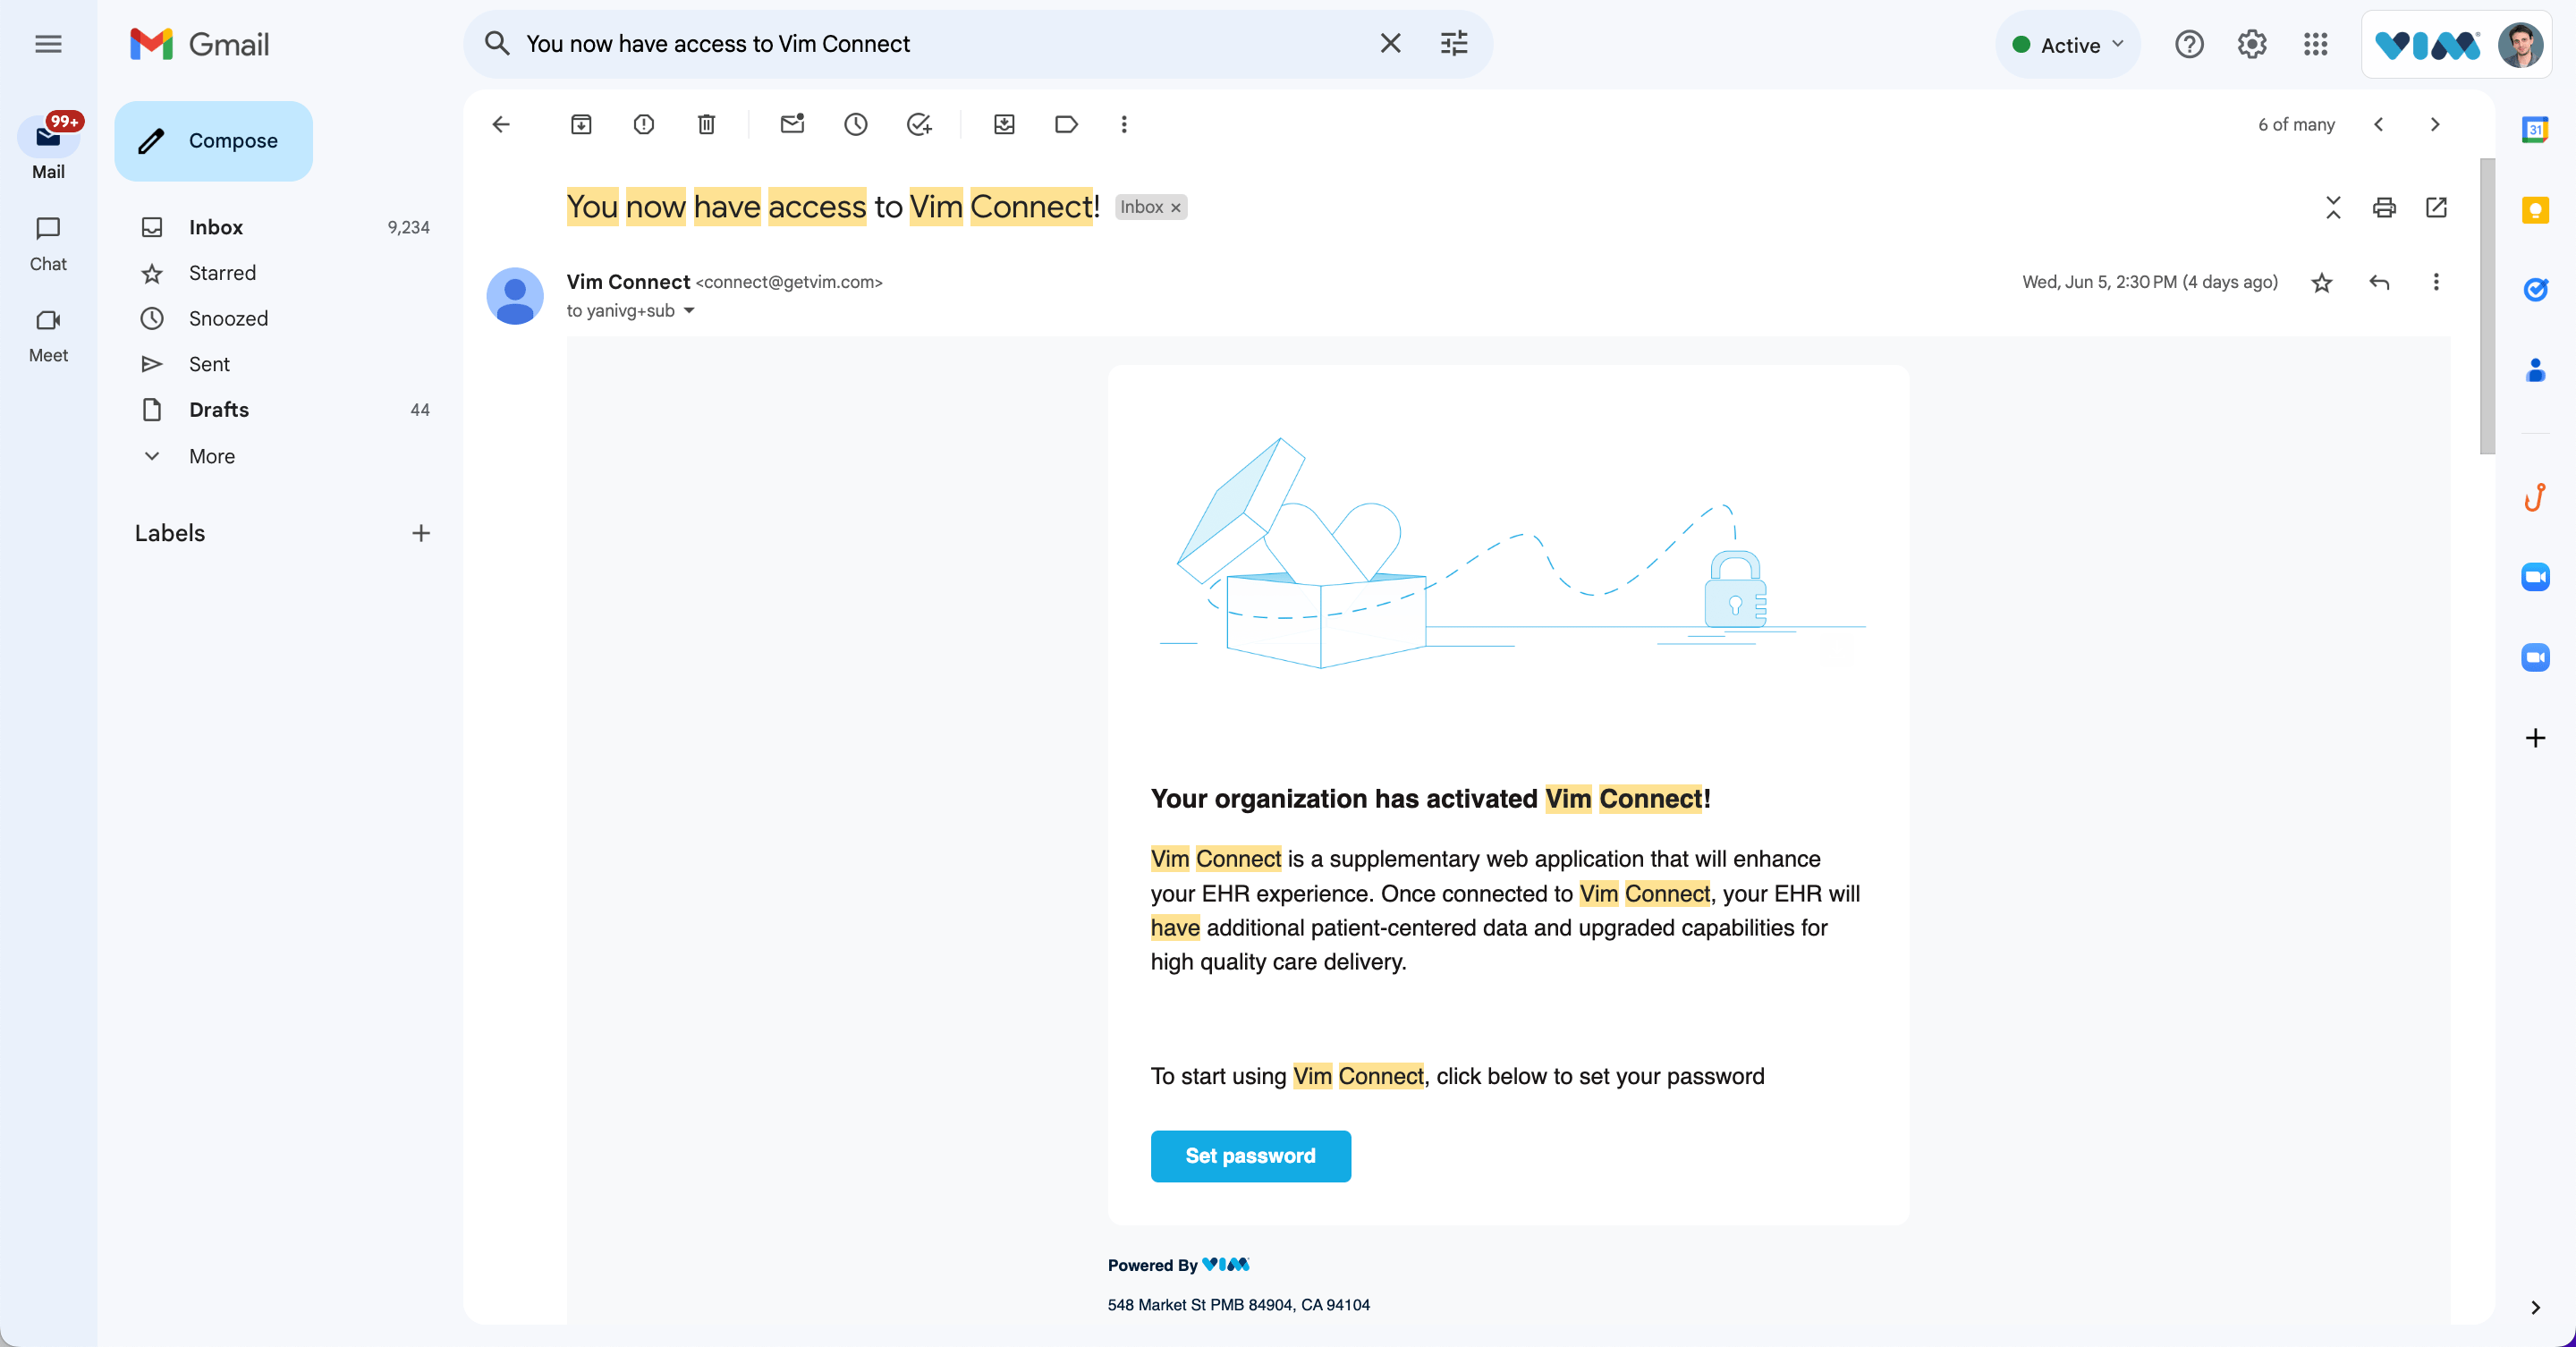
- Click on Set password.
- Set your password.
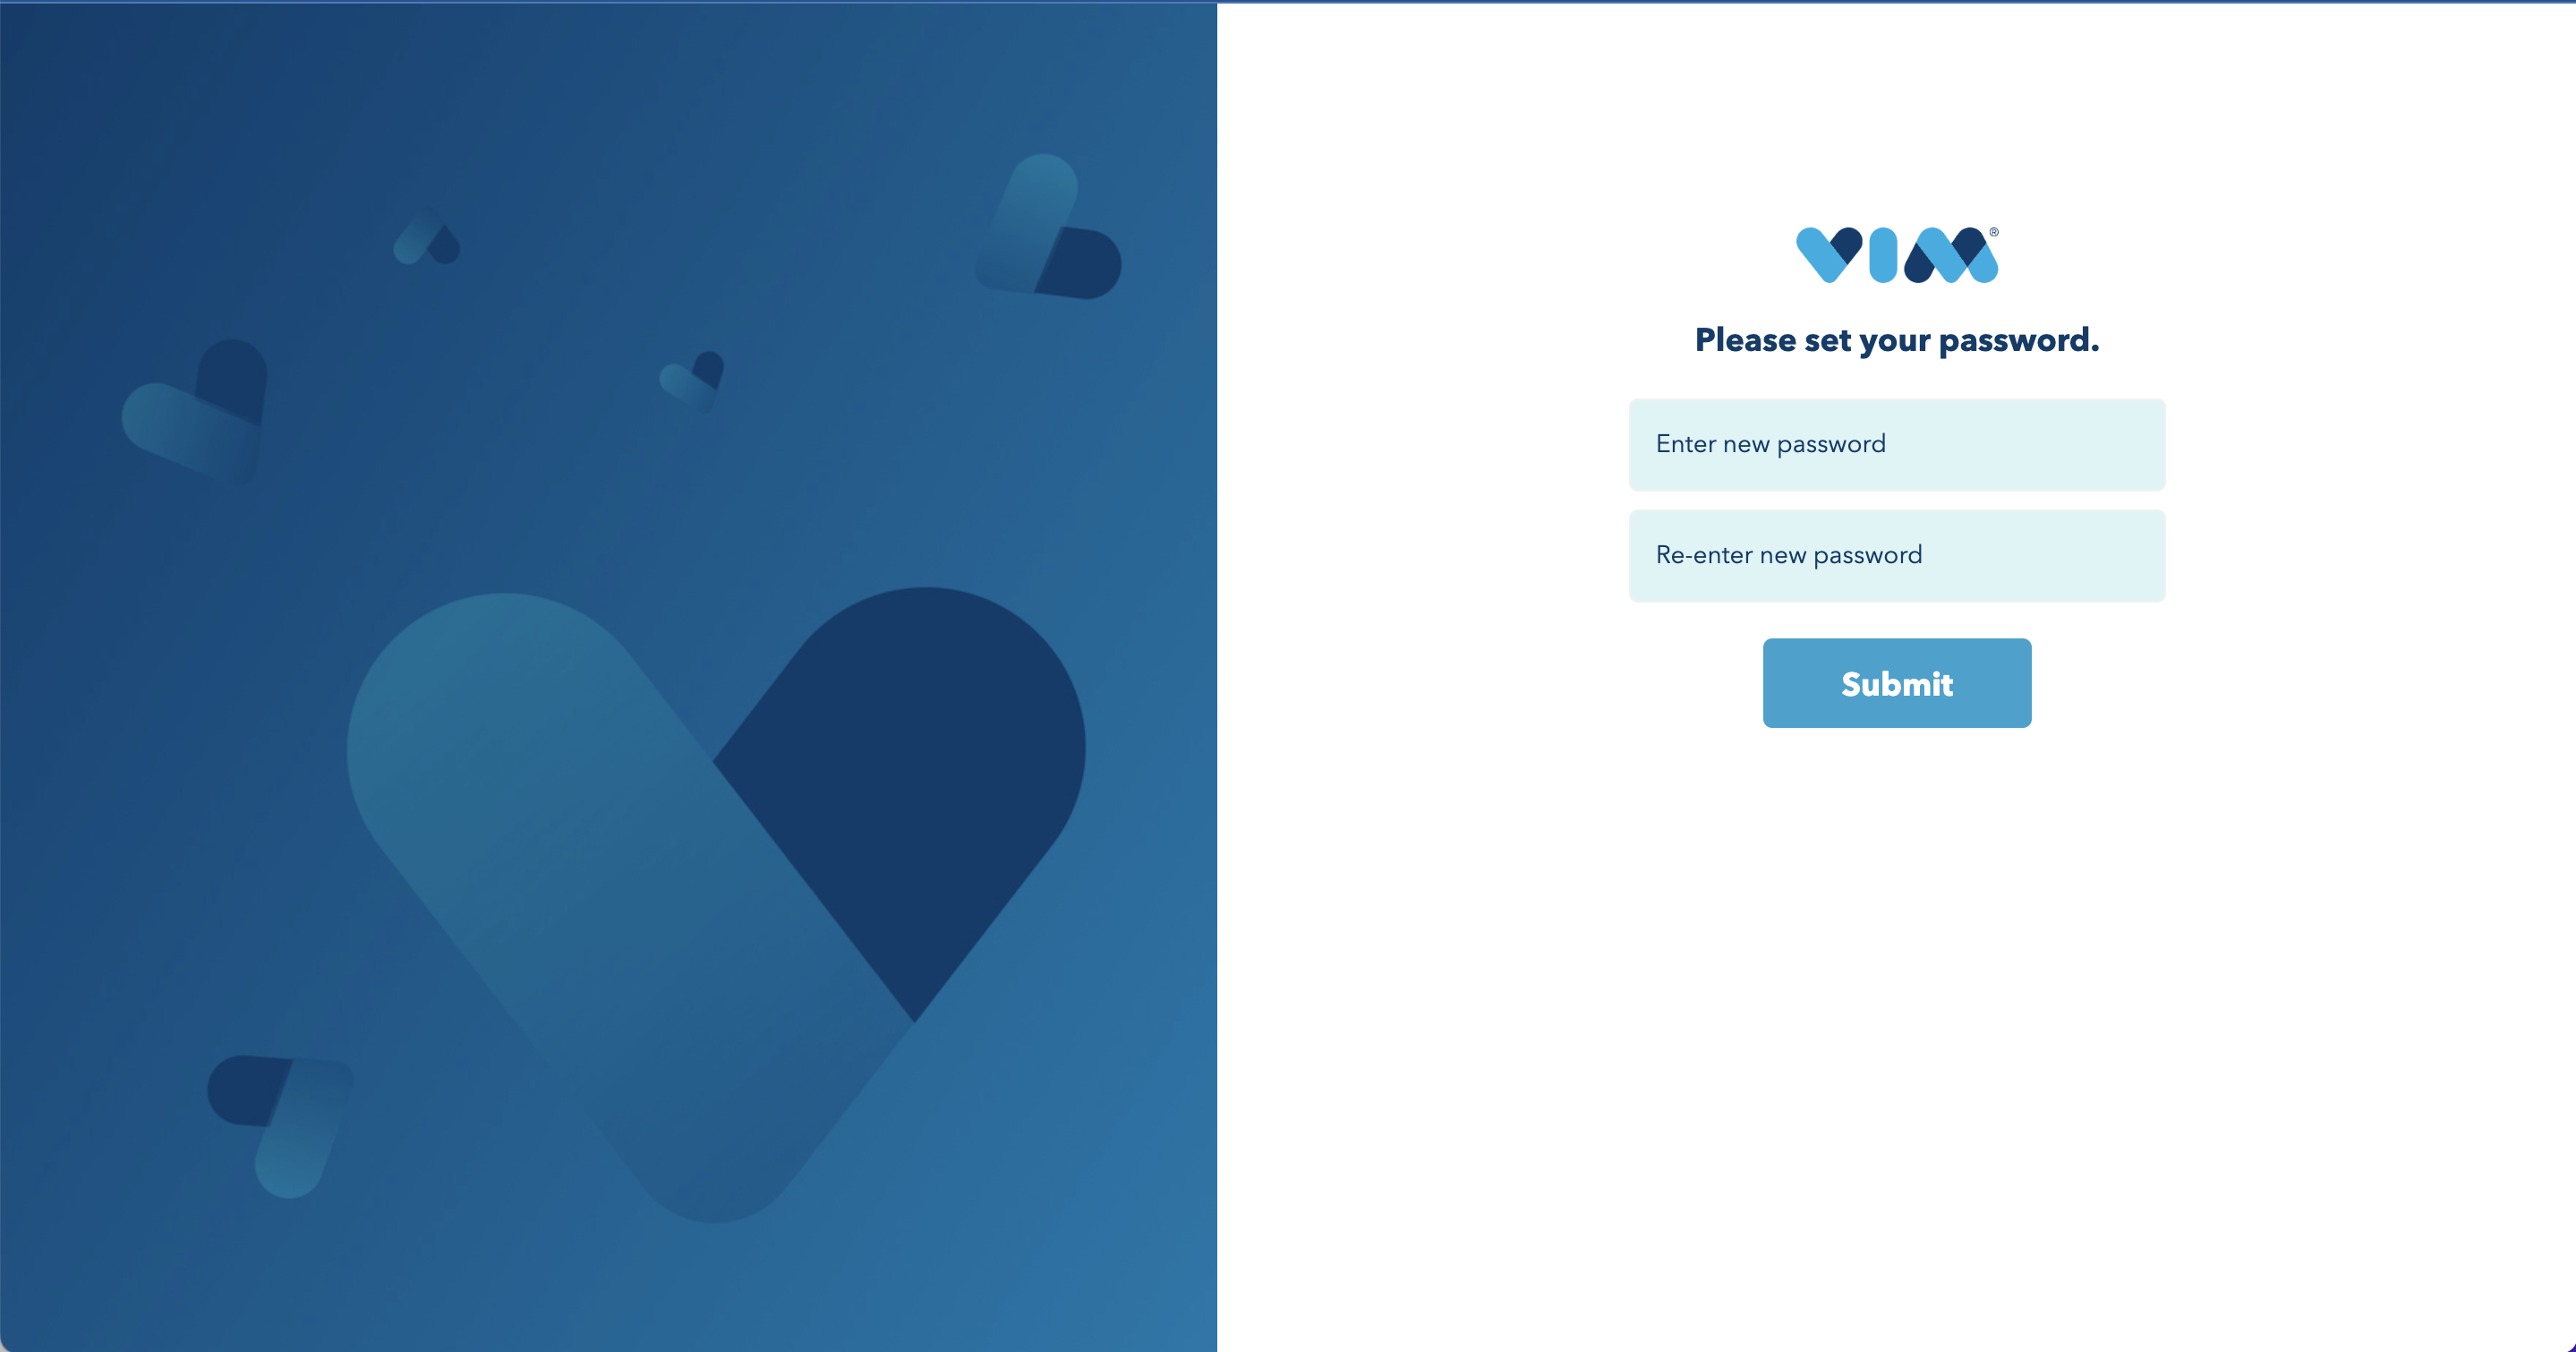
- Click on Submit.
- You are now logged in to your Vim Canvas™️ Console developer account.
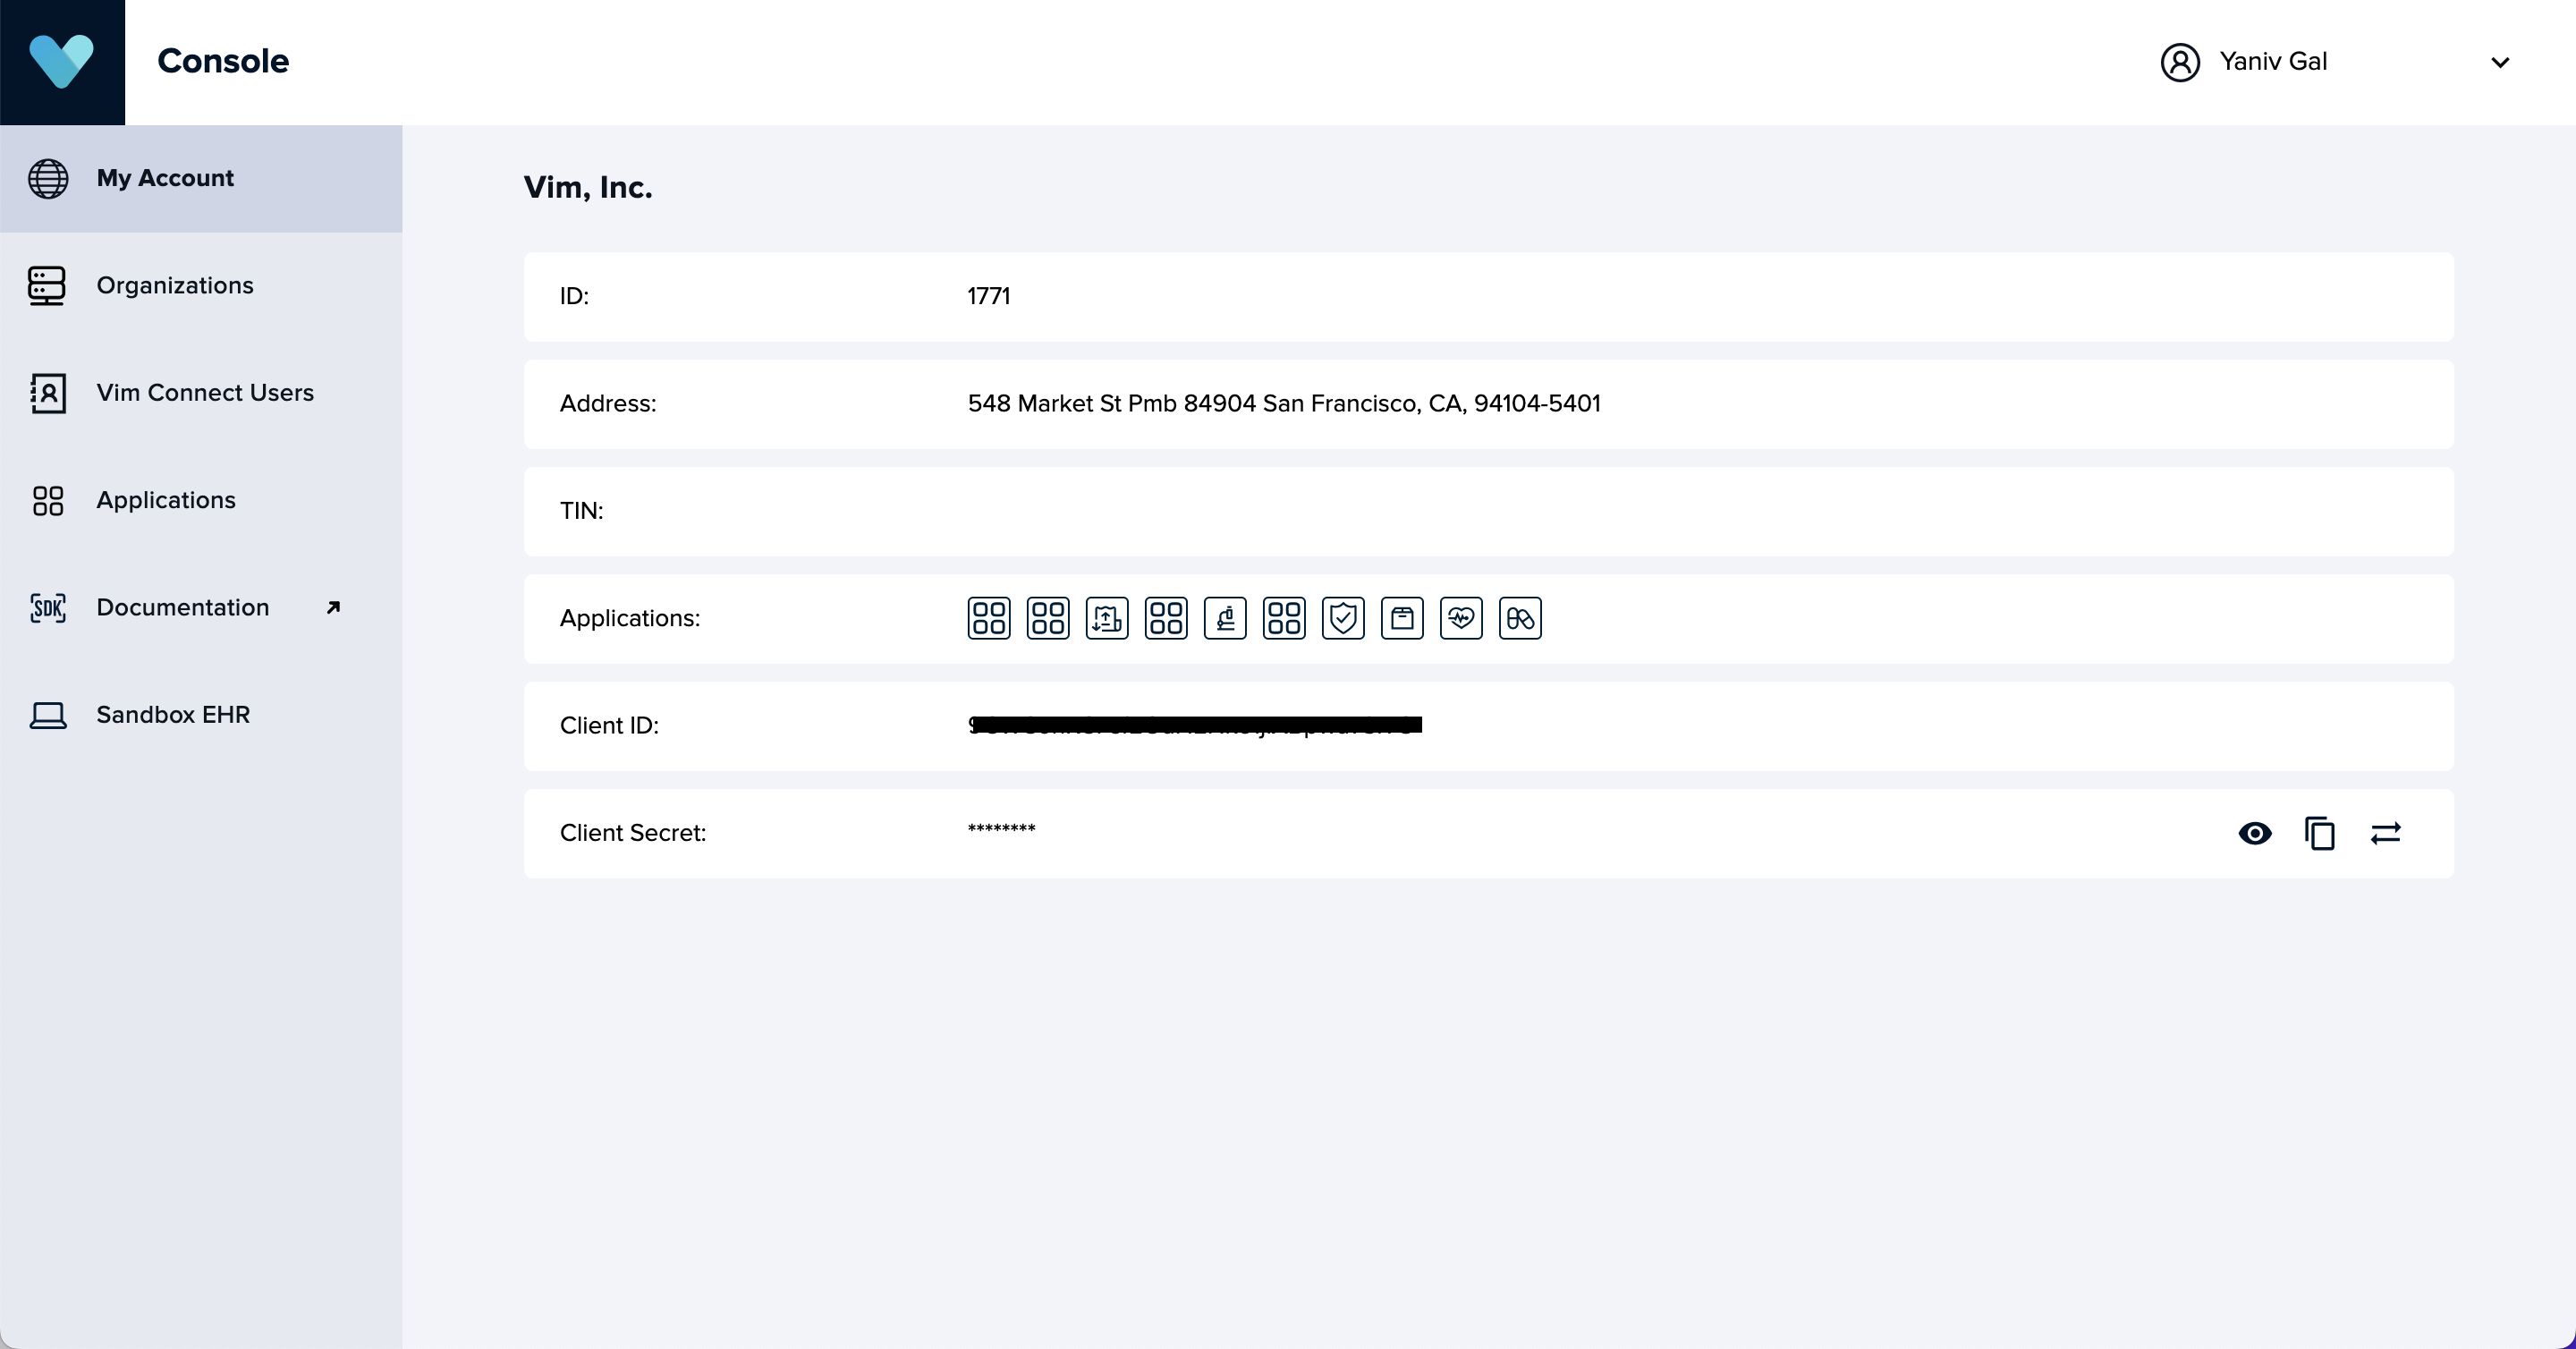
Inviting team members
As the Account Admin for your Vim Canvas™️ application developer account, you can invite and manage the access of your team members with the following steps:
- Log in to the Vim Canvas™️ developer console using your email and password, then complete the two-factor authentication by entering the code sent to your email.
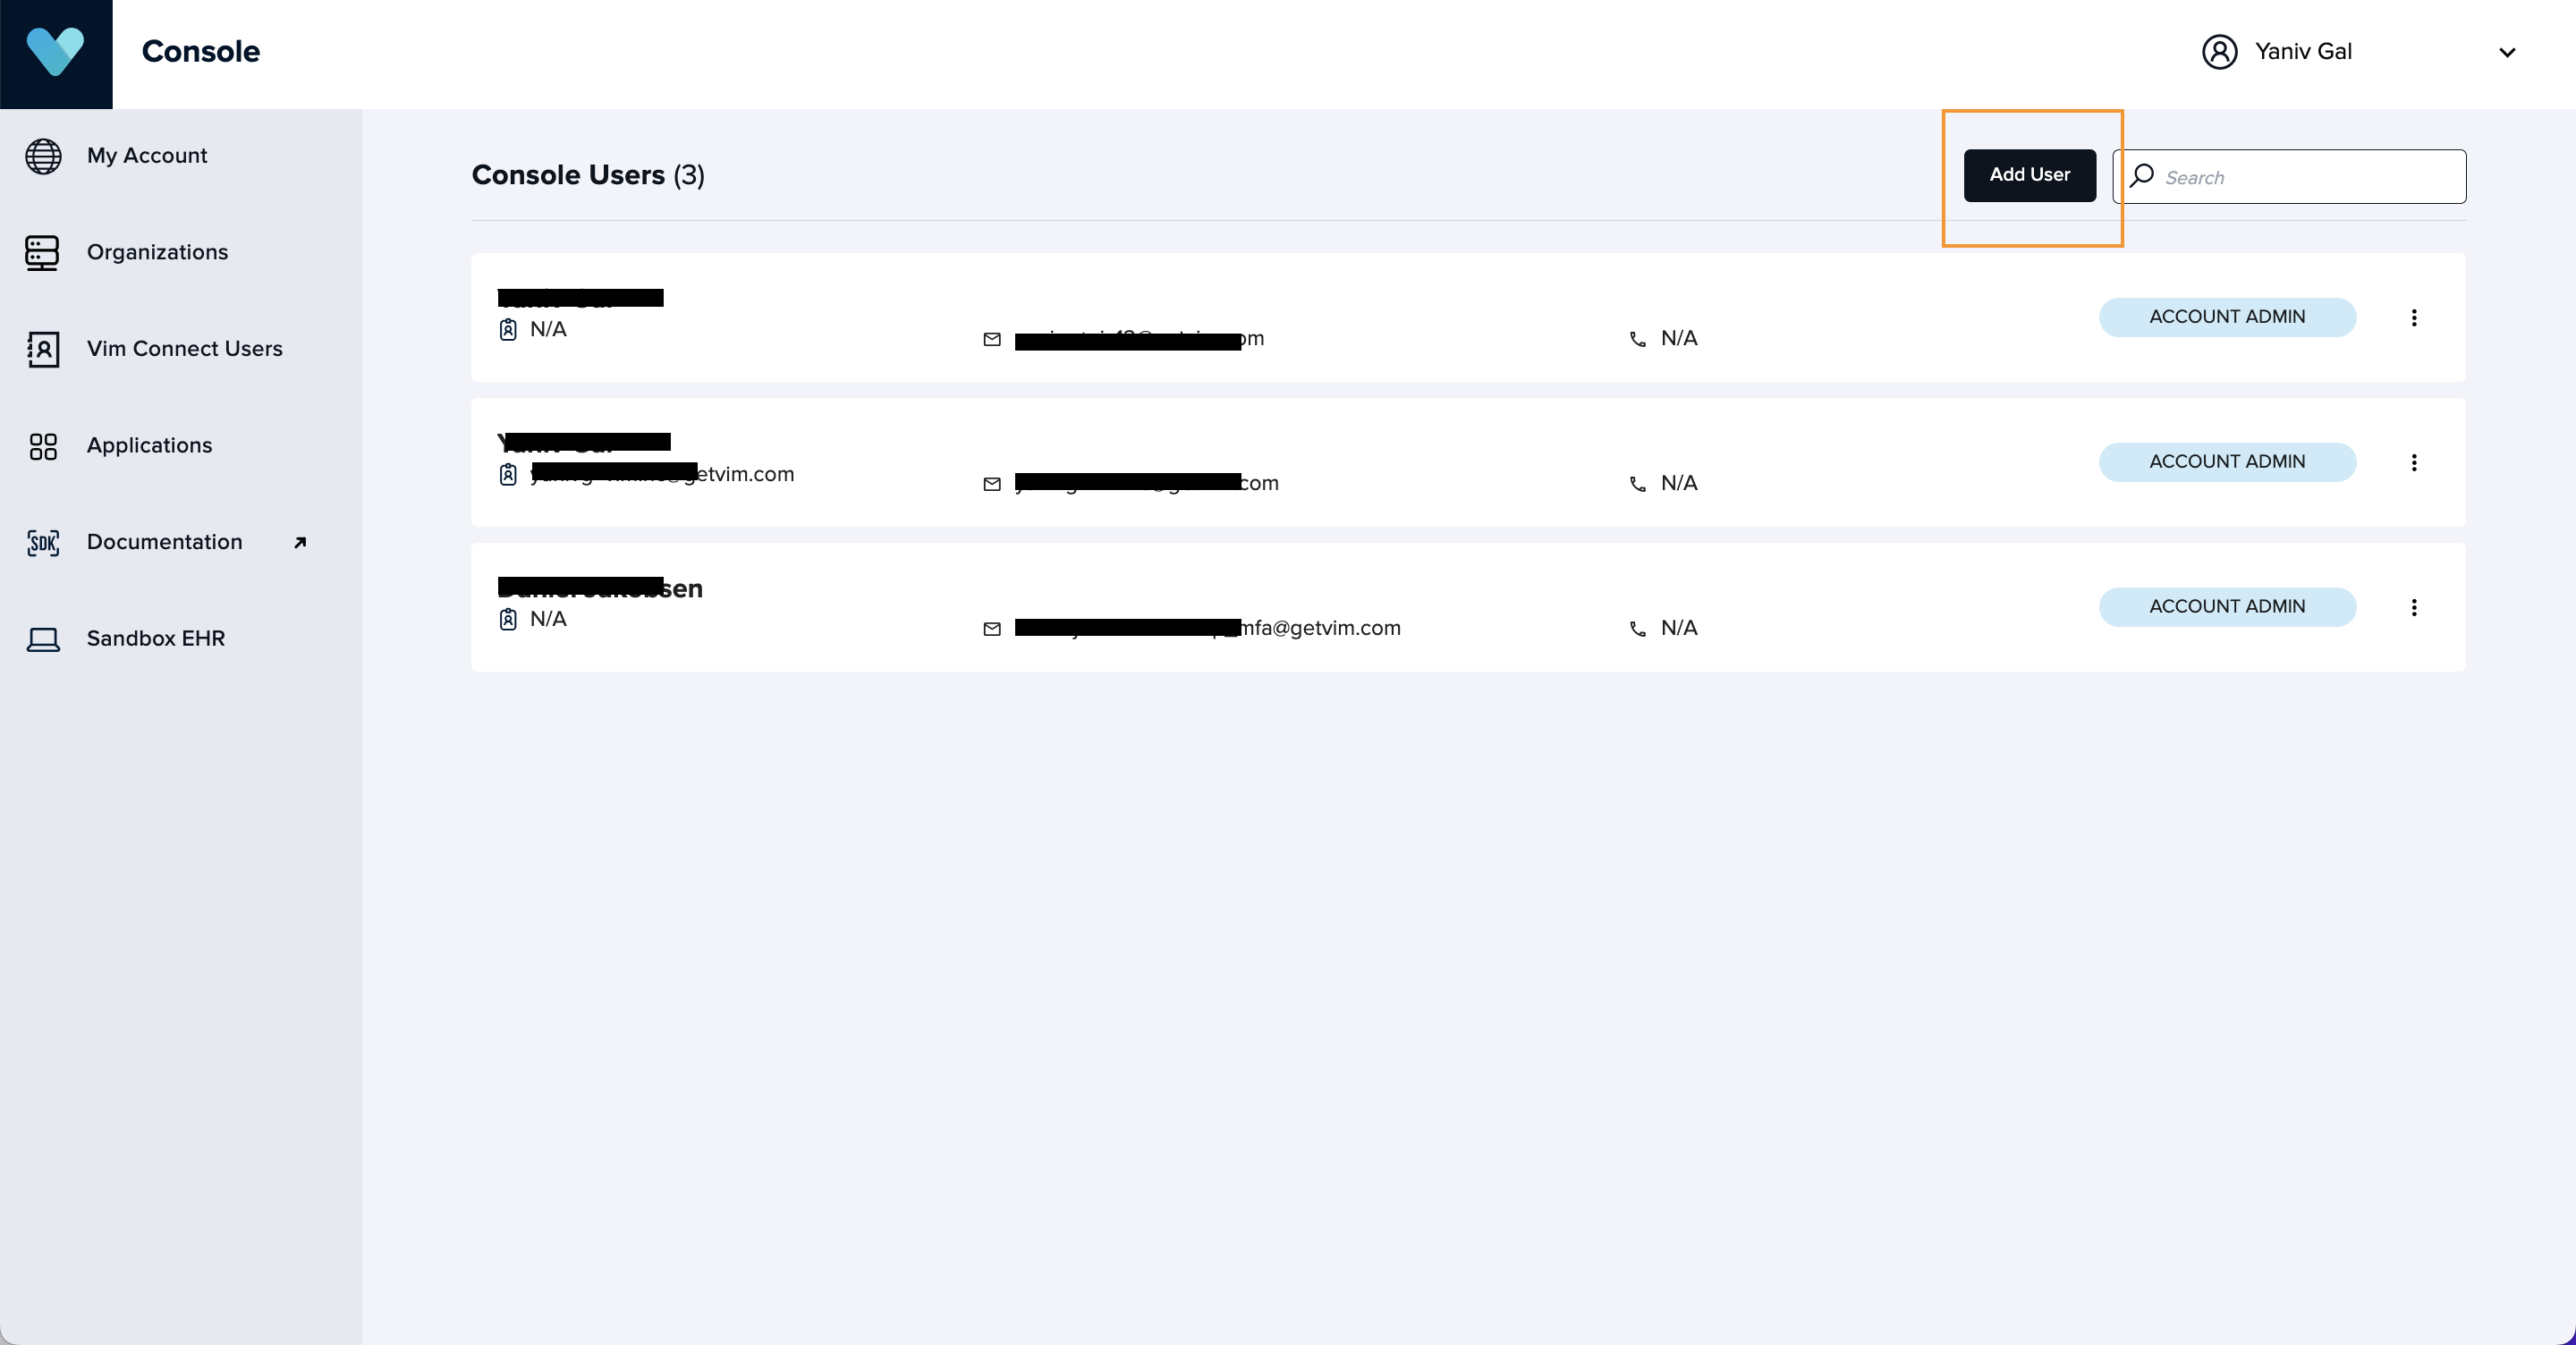
- Click on the top-right profile section and select Console Users.
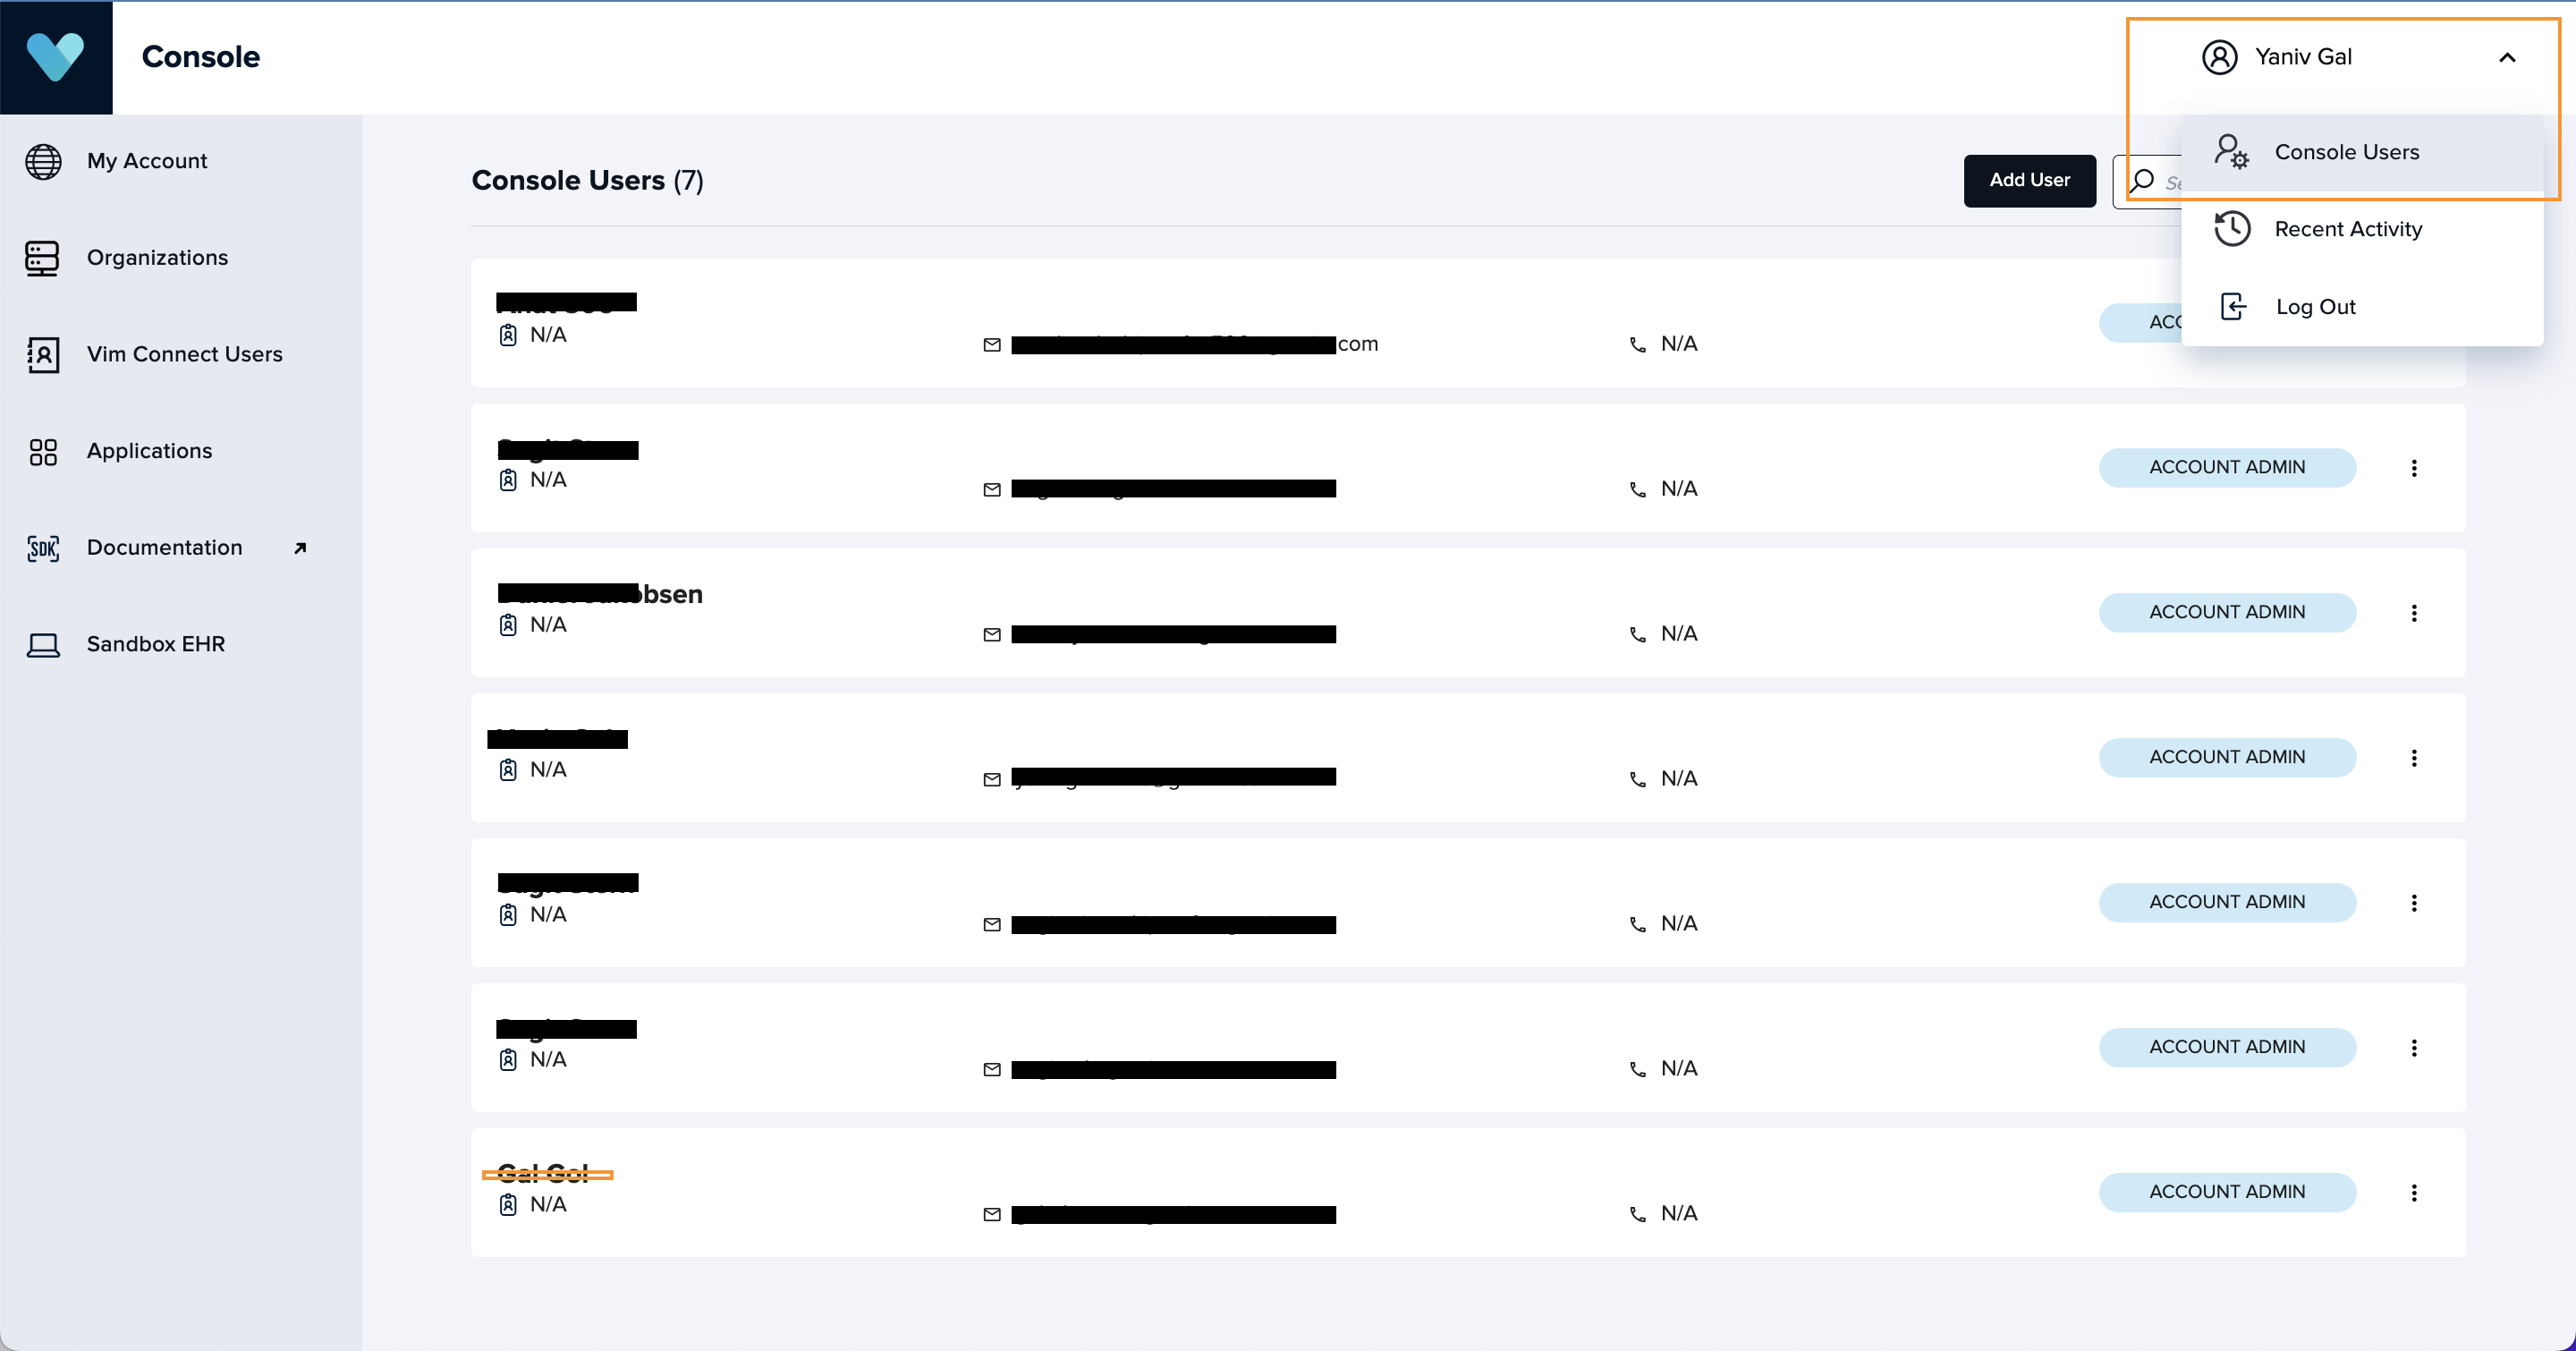
- Click on Add User.
- Fill in the relevant details (mandatory fields: email, first name, last name, and permission level such as Account Admin).
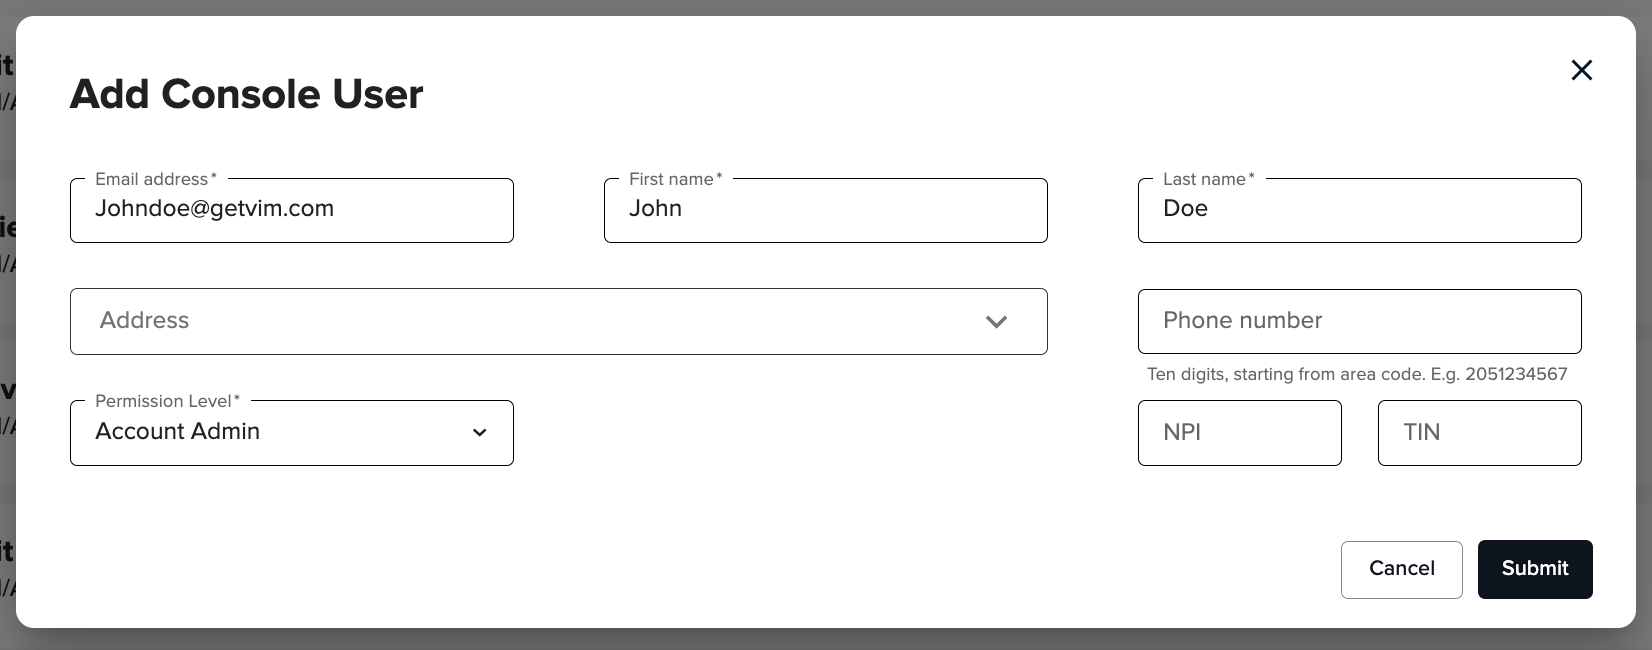
- Click on Submit.
